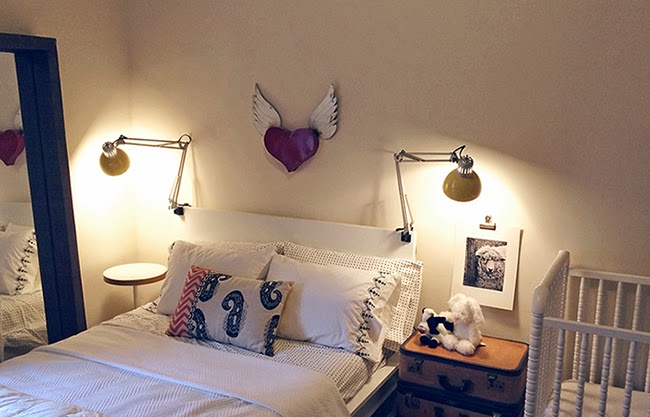
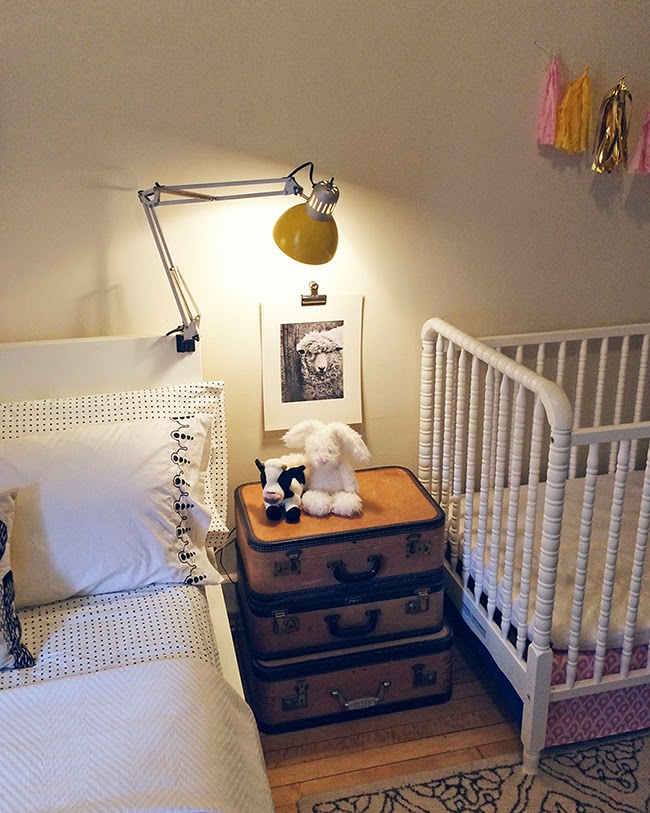
I've been pushing forward on projects in the nursery/guestroom trying to get everything checked off by my self-imposed one year deadline. First item, the lights. I had regular table lamps originally, but our roaming baby would pull them down in no time so I had to switch them to wall mounted (well, technically bed-mounted). I had these super inexpensive Ikea lamps from our previous place and updated them with a hit of bright yellow paint on the shades.
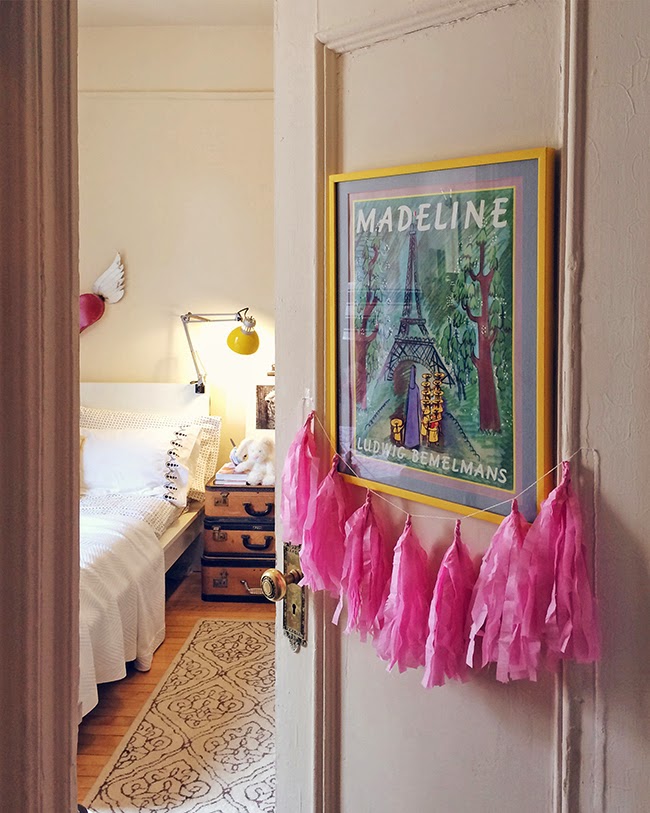
I also spruced up the vintage Madeline poster that's hanging on the door. The frame was a boring brown, so I gave it a few quick coats of yellow paint and now it is bright and sunny!
I learned this trick from Jenny at Little Green Notebook. You can just paint your frame, letting the paint get on the glass. When it is dry, simply clean up the glass with a razor blade! Works for mirrors too.
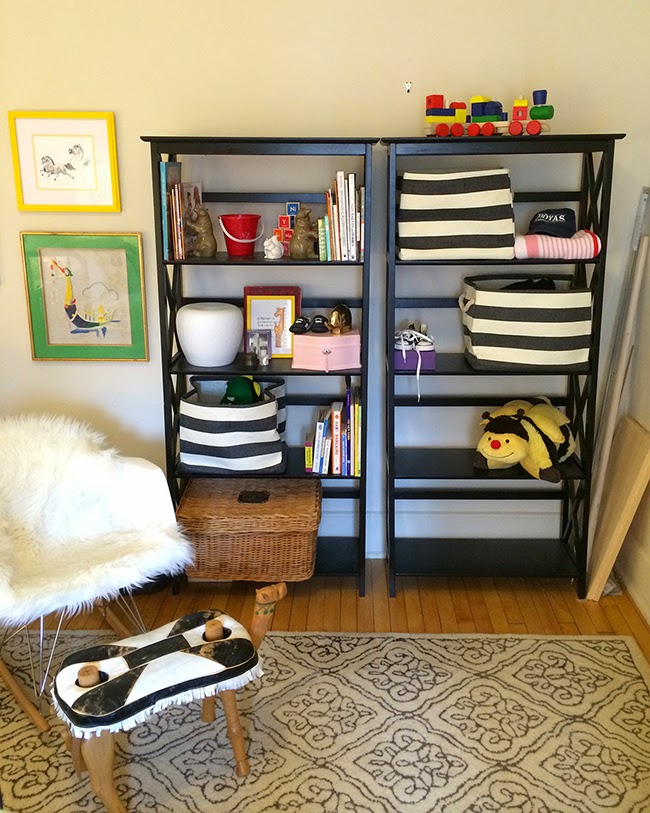
I realized in my previous post about the nursery that I didn't show you a picture of the shelves we have currently. Here they are...
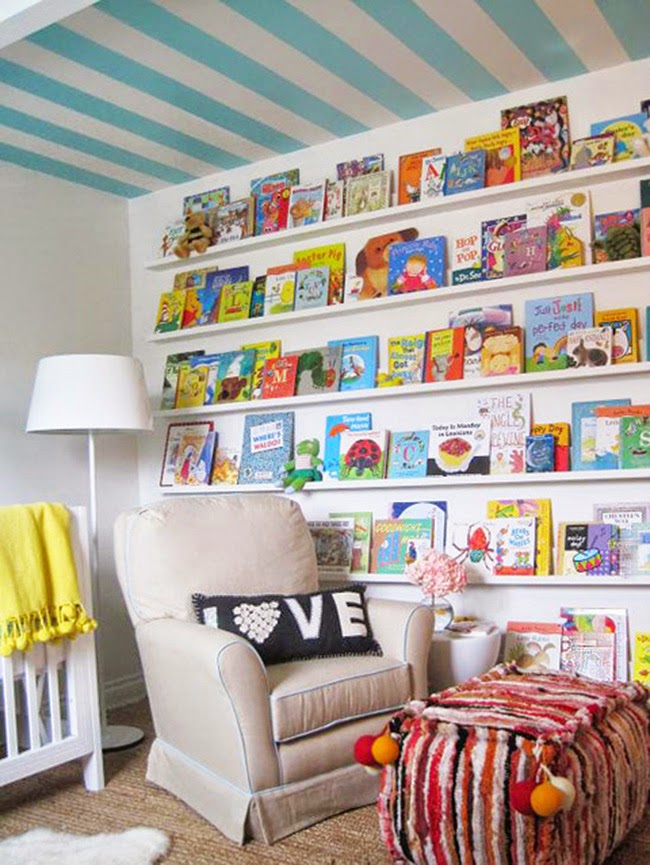
There isn't anything wrong with them, but they are just not the vibe I want in the room. Plus, I really want to install picture ledges so we can display all the cute baby books. Something like this...
Nursery Design by Elizabeth Sullivan via MadeByGirl
I'm waiting for Amazon to deliver me some cord covers then I'll share the changes in the living room!
We moved into our new place less than a month before #babymads was born (yes, she has an official hashtag, how else is a psycho-mom suppose to categorize her Instagram pictures?). I tried to get as much as a could done even though I was the size of manatee and about as quick. The nursery was definitely a major focus of my attention. I wanted to make sure that room was ready...nesting instinct I guess. It pretty much all got done in time. The drapes went up the day before she was born, so we made it just by a hair.
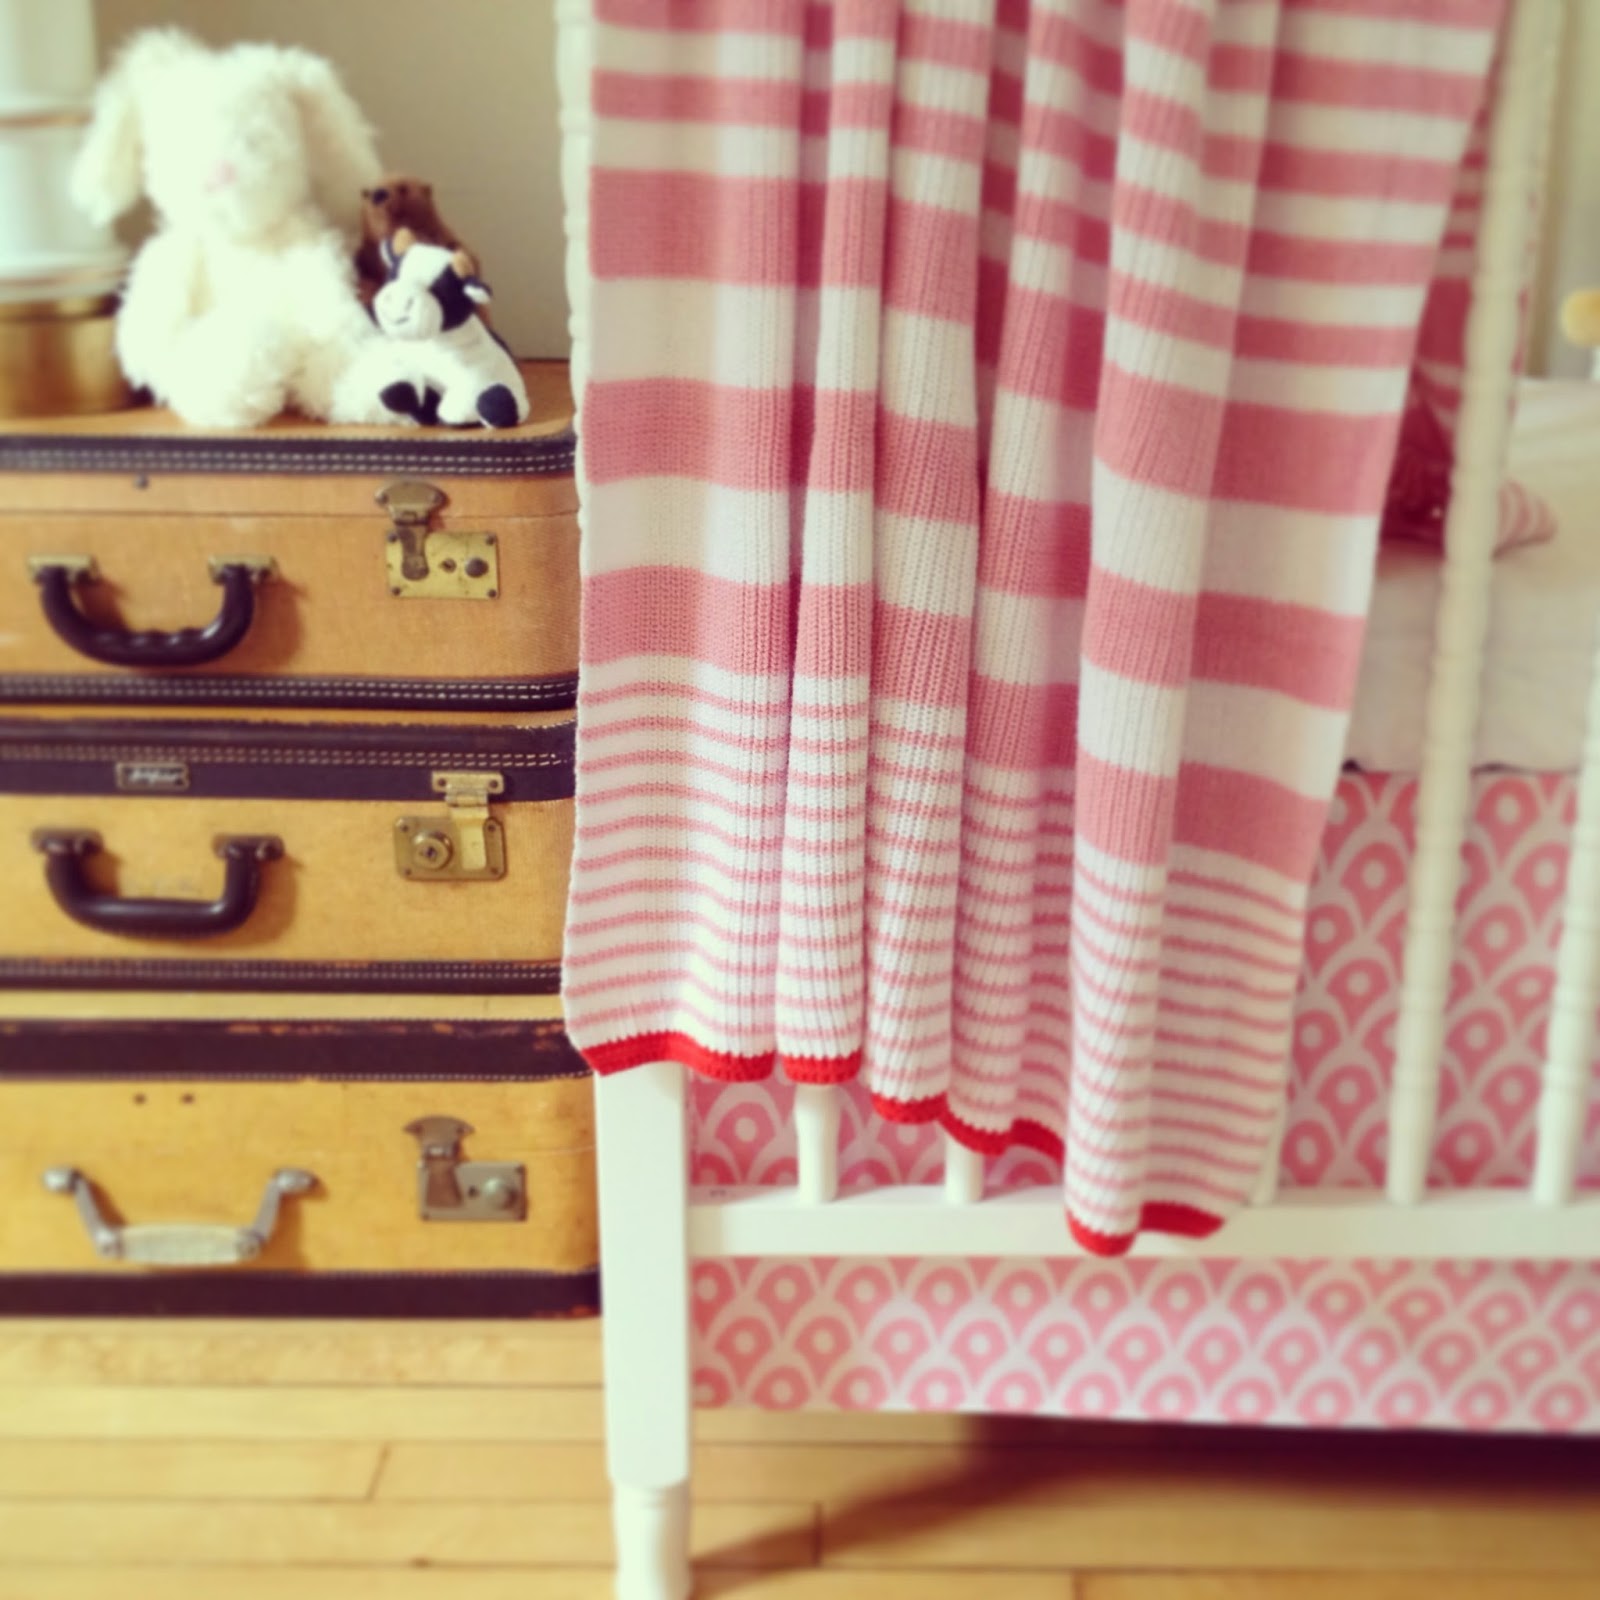
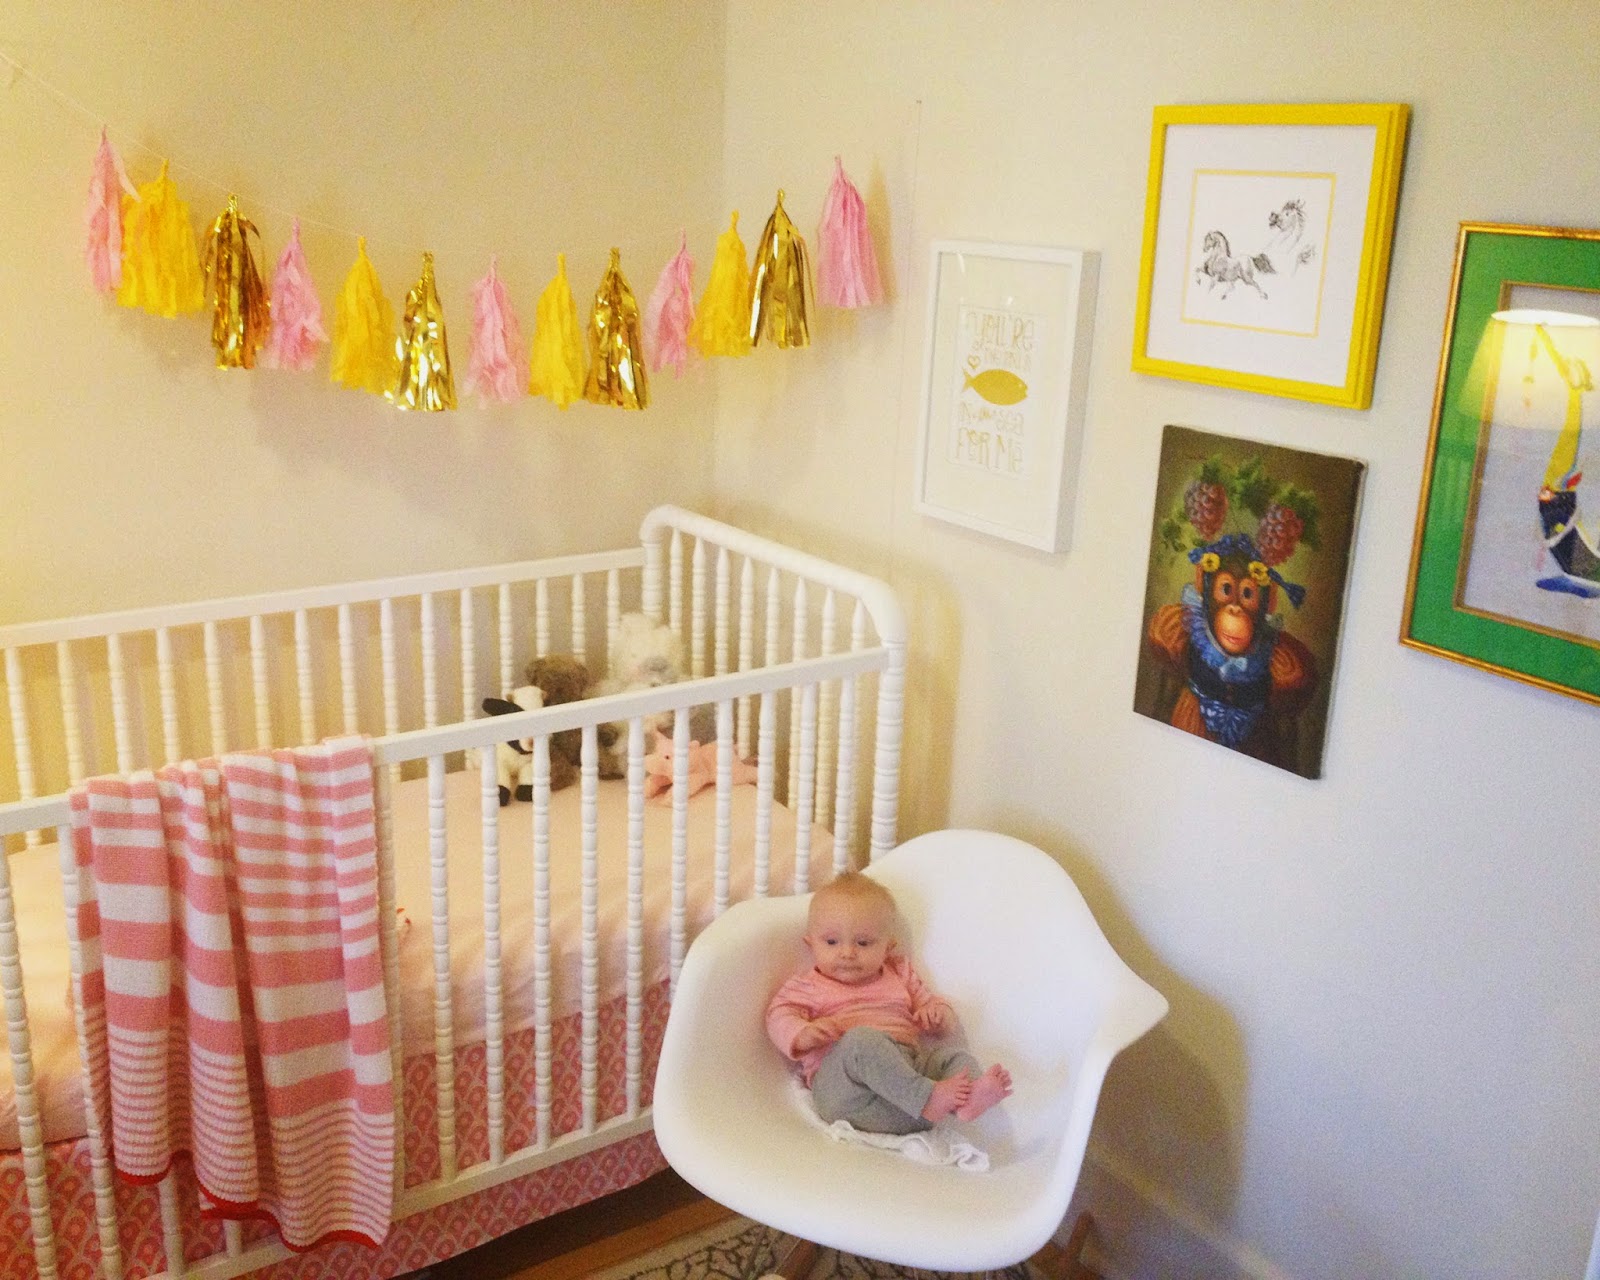
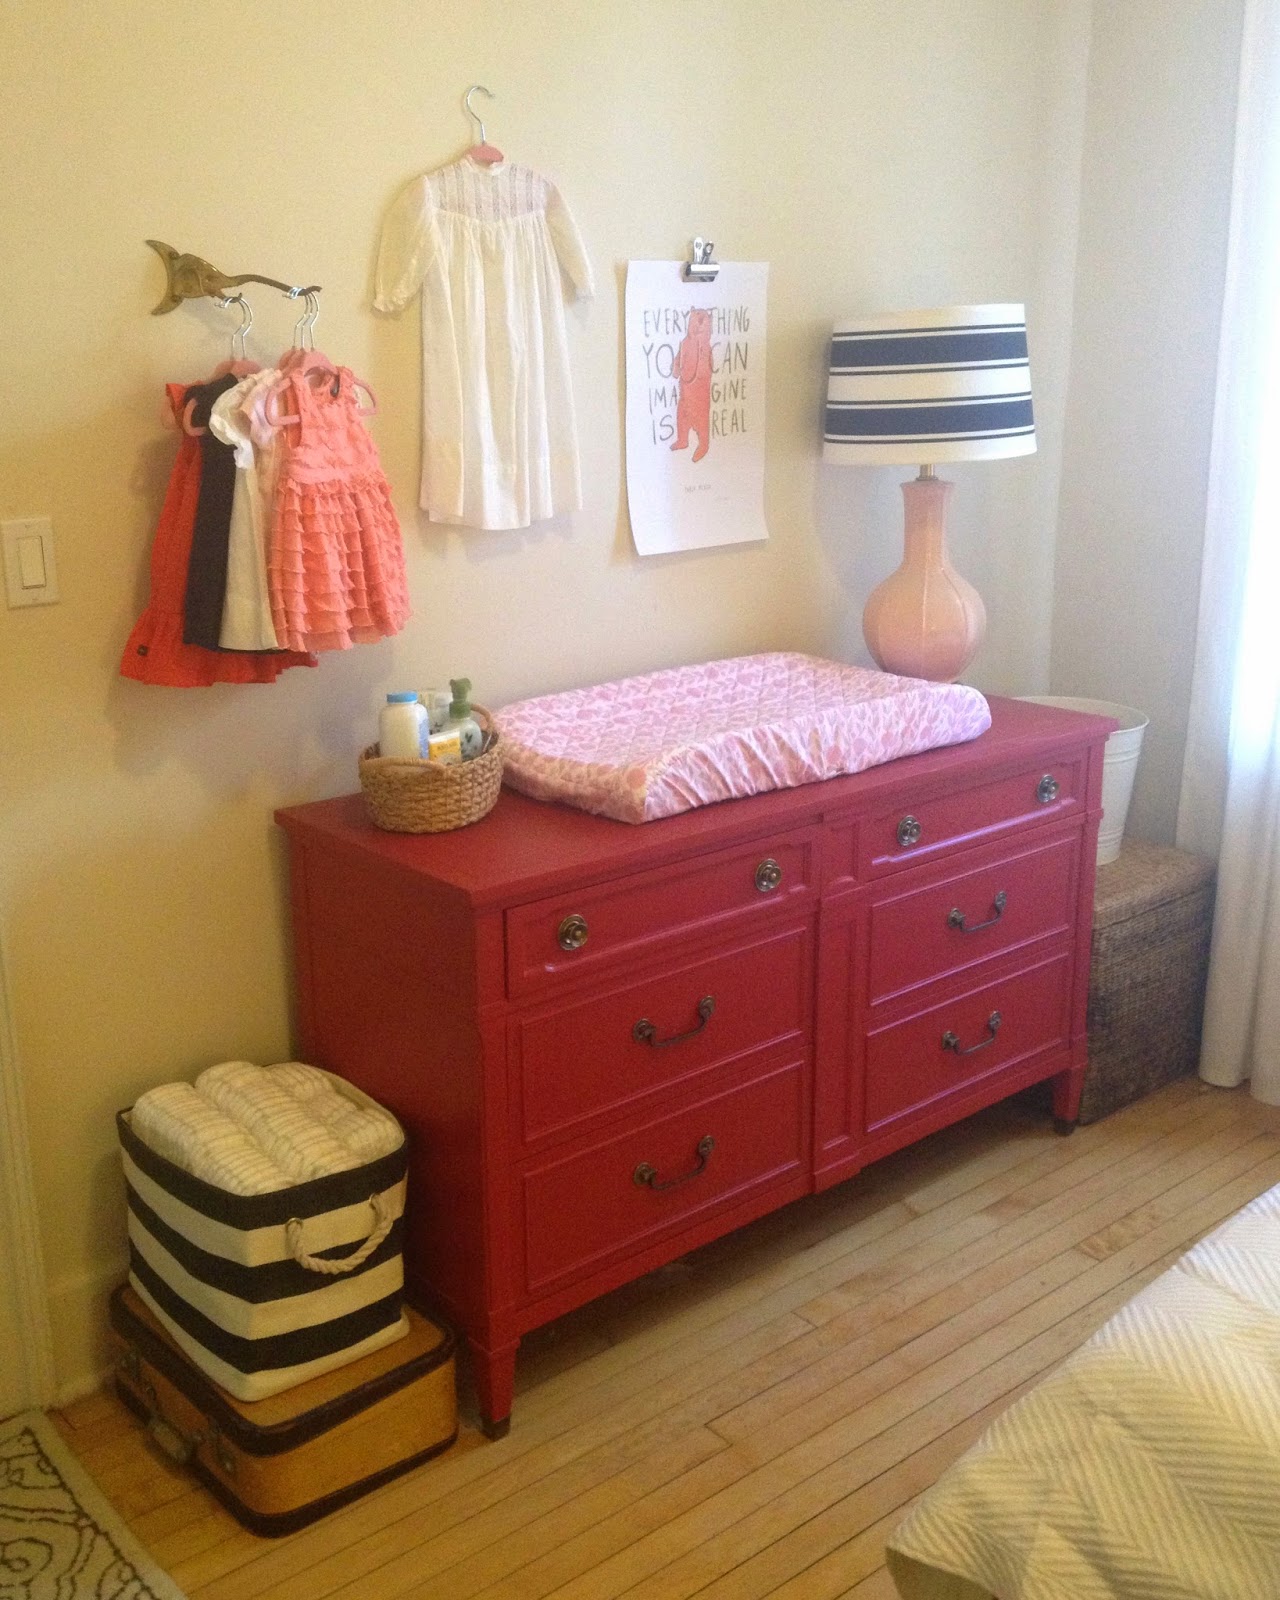
I didn't want anything too girly, so I went with a palette of red, white, pink and black with some splashes of yellow. The red vintage dresser, which I stole from my mom, makes an awesome statement in the room. I decided to bring the pink in primarily in linens (from The Land of Nod) and accessories like the tassle banner.
The crib I picked up from Wayfair.com and I highly recommend it. It was very easy to assemble and has a great vintage look.
Since this room also needed to function as a guest room, we were lucky enough to be able to fit a full size bed in the space. I picked the Malm High bed from Ikea for the clean modern lines and the ability to store stuff underneath.
(The lighting situation is getting tweaked as we speak, so more pictures to come on those updates!)
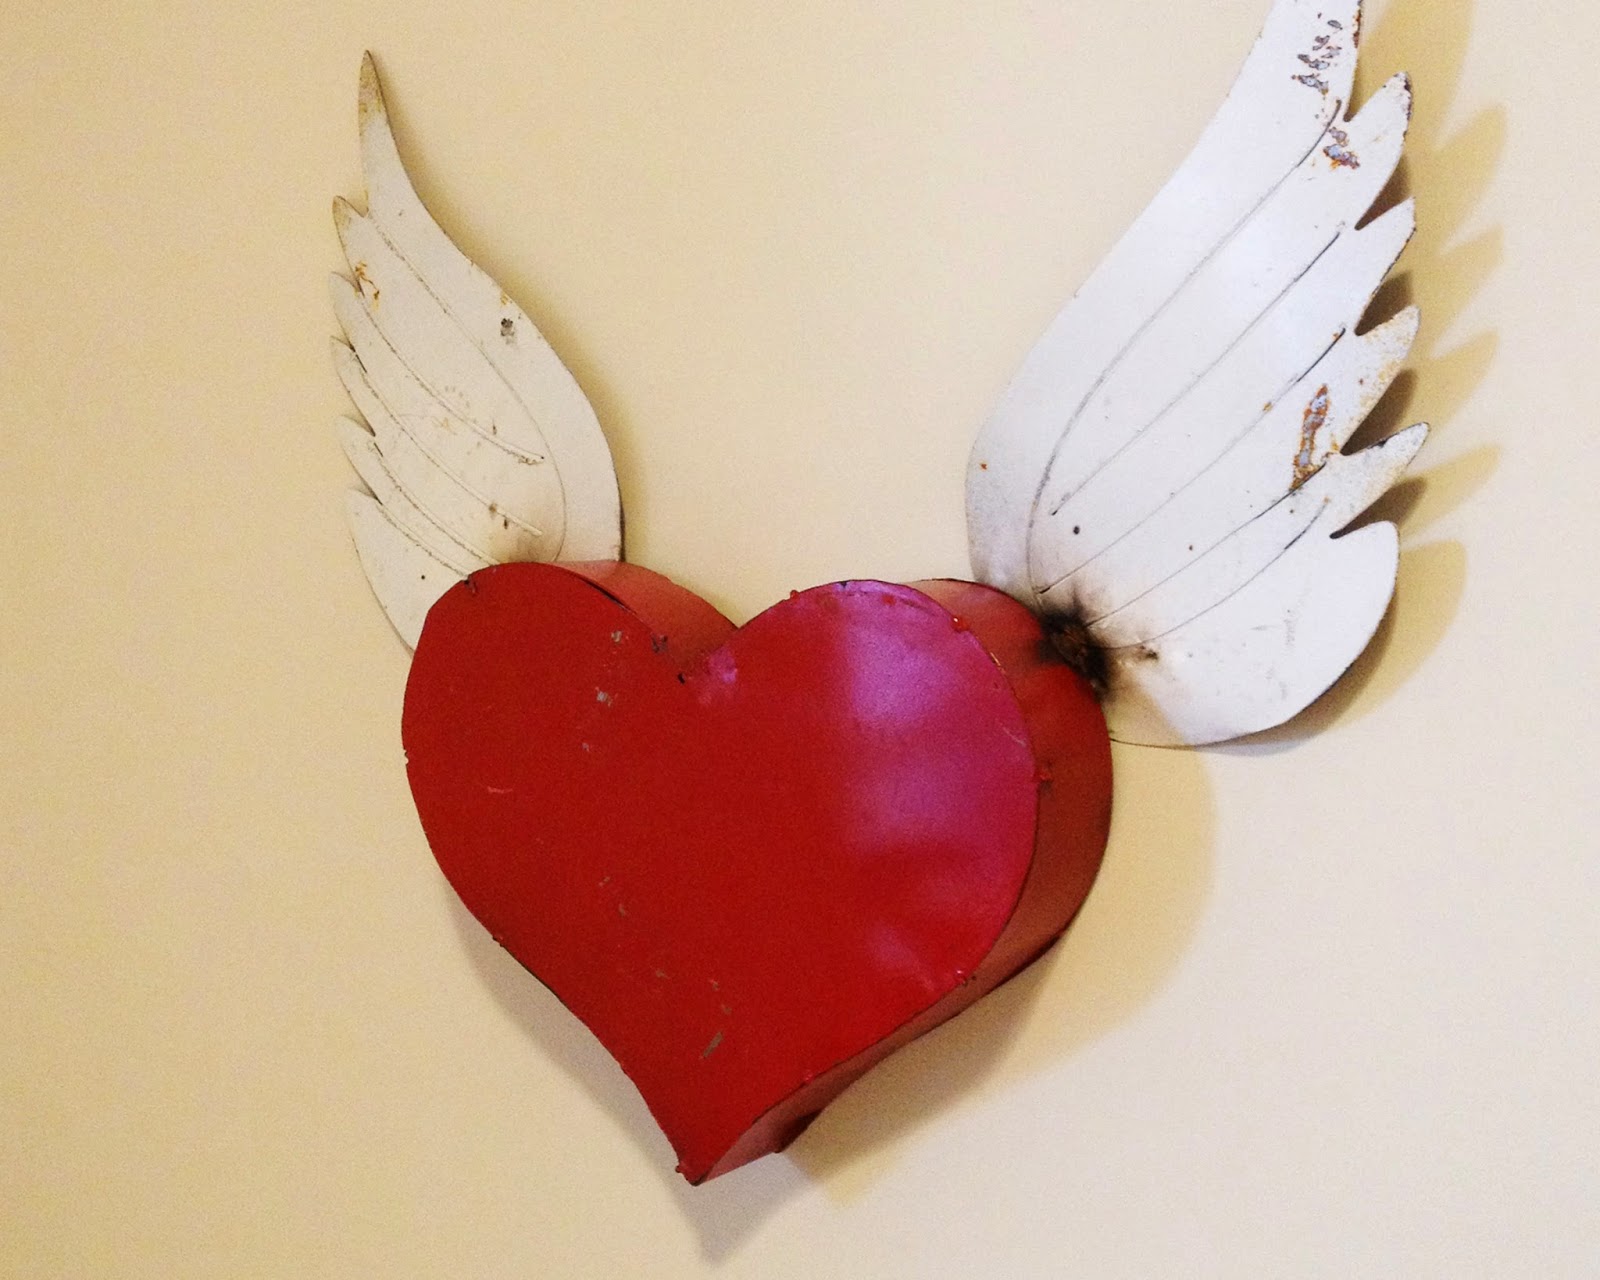
This winged heart is one of my favorite pieces in the room. I picked it up at the Wimberley Outdoor Market outside of Austin, TX when I was down at my friend's bachelorette party. I somehow managed to lug home this giant metal heart and the oil painting of Petunia the Pretty Monkey in my carry-on. Thank you Southwest for not calling me out on that one....Benefits of being pregnant, I guess.
So there it is! I'm pretty happy with it, but, of course, there is still a to-do list:
- install new guest bed lighting (we are doing wall mounted so they are out of reach of Miss Mads)
- switch out the bookcases for something lower and more modern (I didn't even take photos of what we have now)
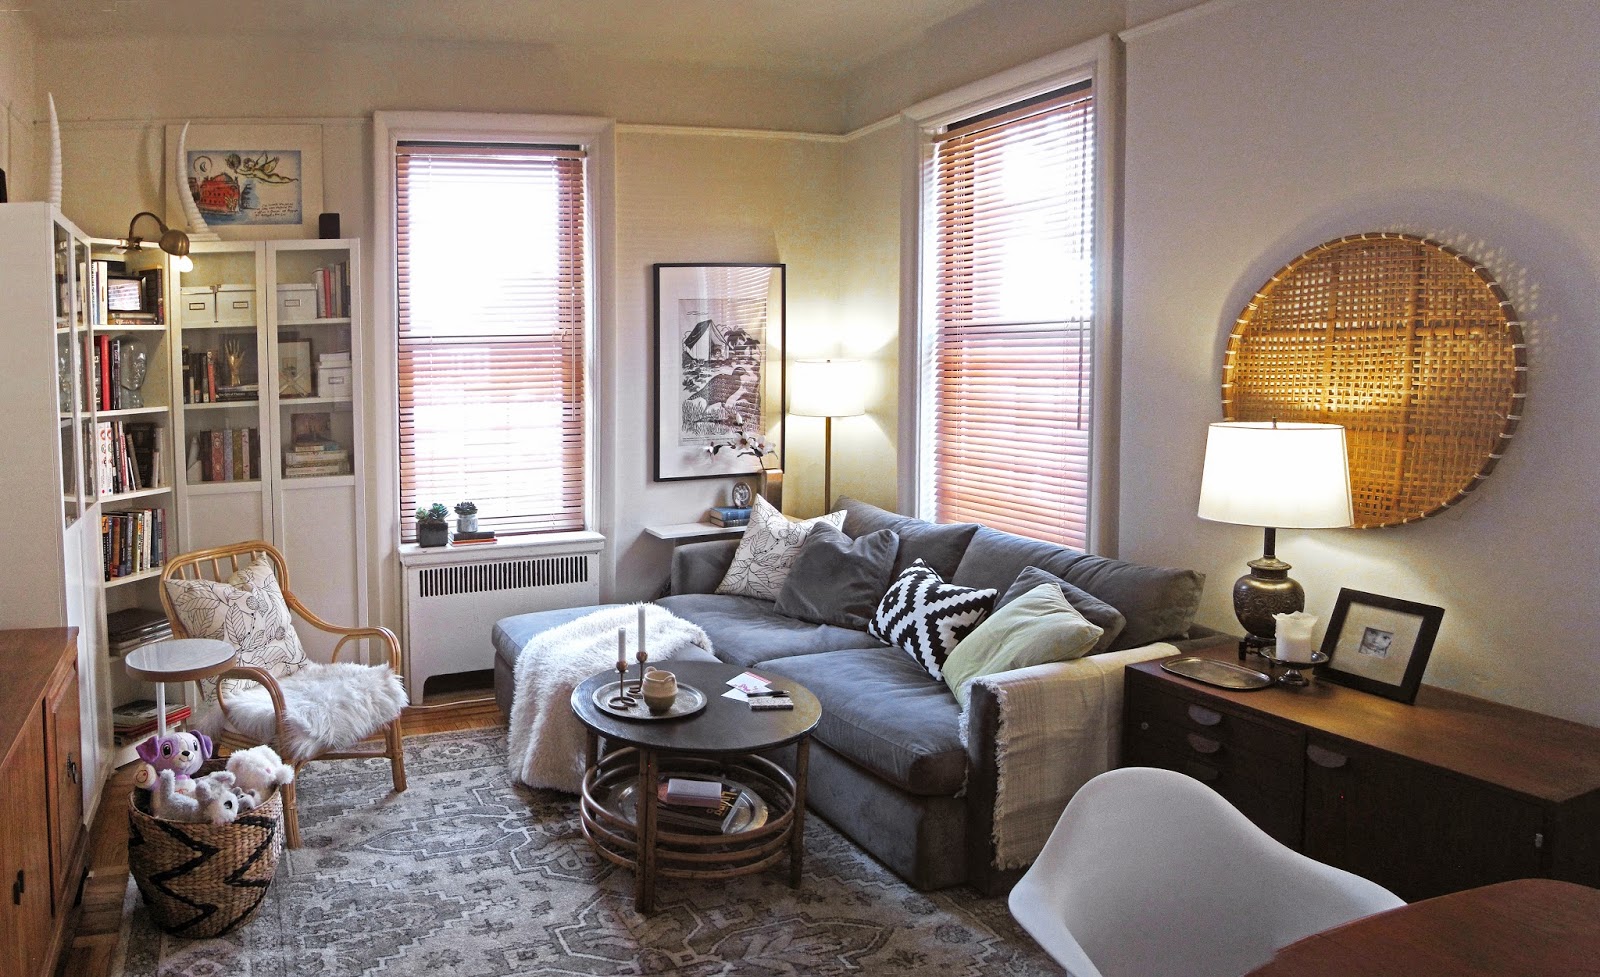
Part 2 of the grand Apartment Tour! Enter...the living room!
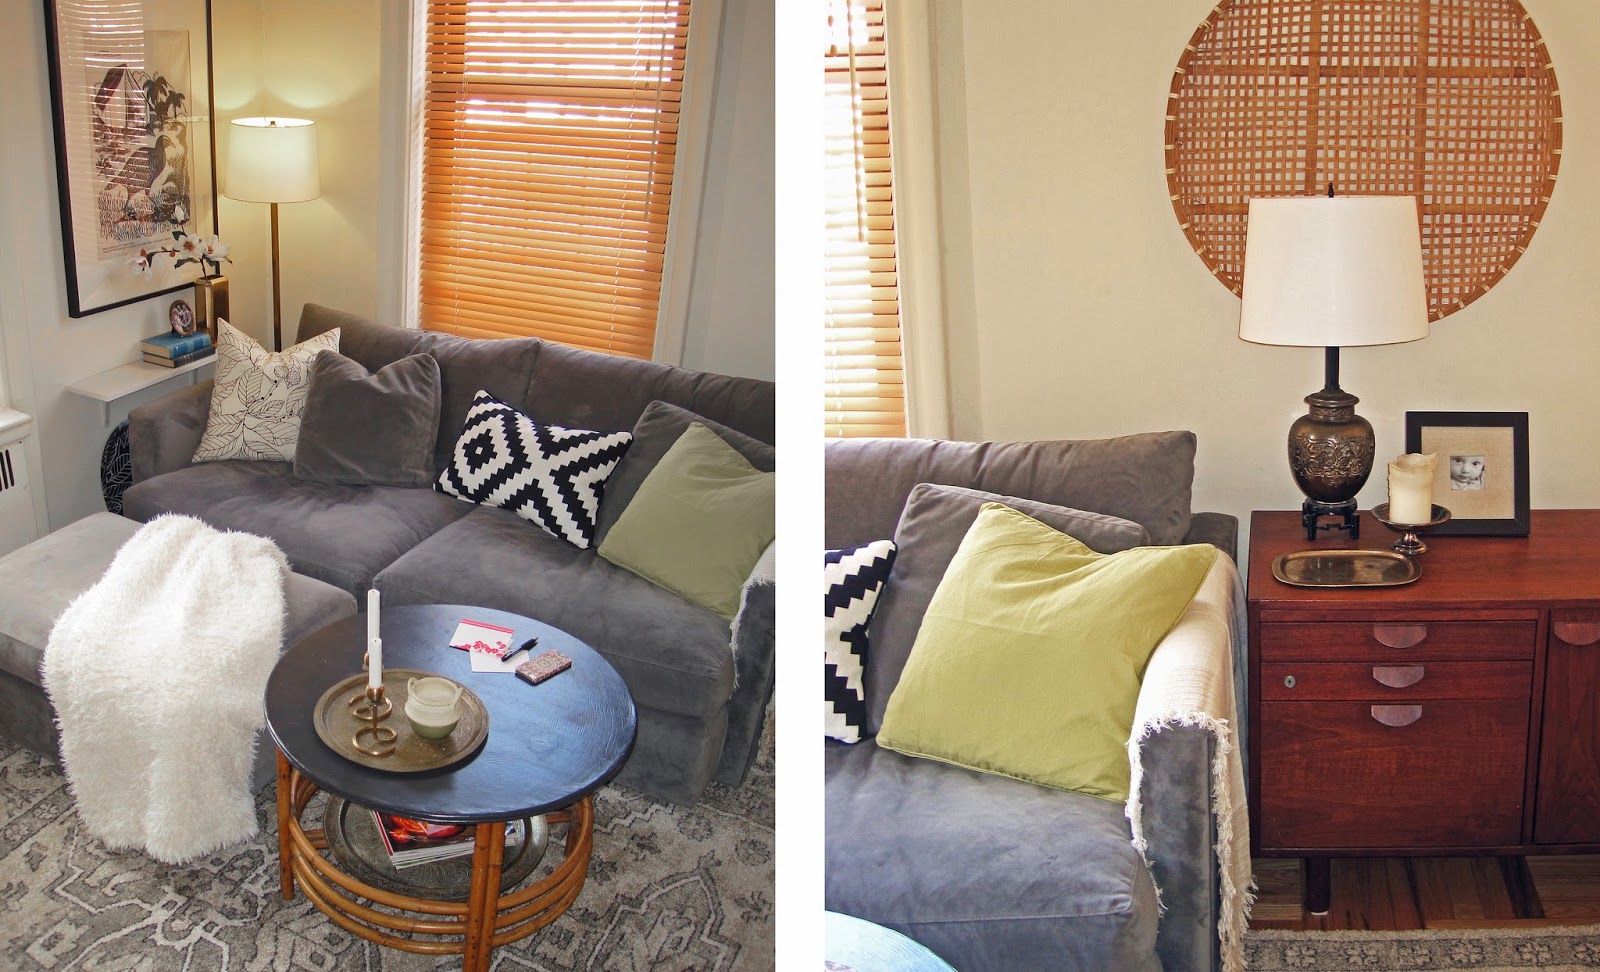
It is the most complete space and where Mads and I spend about 99.9% of our lives. I have to say, I'm very happy with how it has come out. It is light and bright, with a good mix of modern and vintage furnishings. I tried to keep the color palette very neutral, sticking mostly with whites, grays, and natural woods.
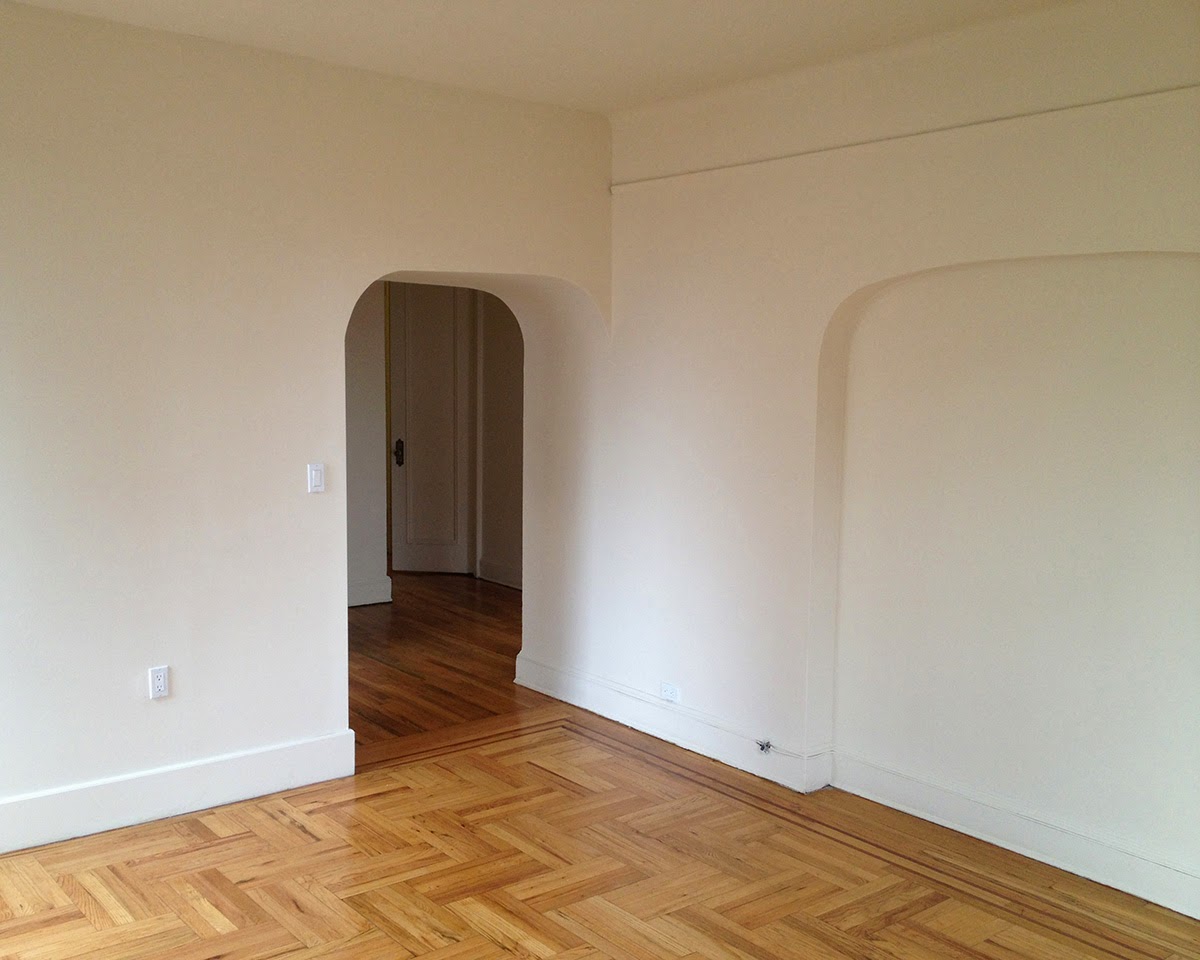
Here is what the space looked like when we moved in:
Here is its first iteration with the West Elm Rug (I took this right before we changed it so they aren't exactly styled...):
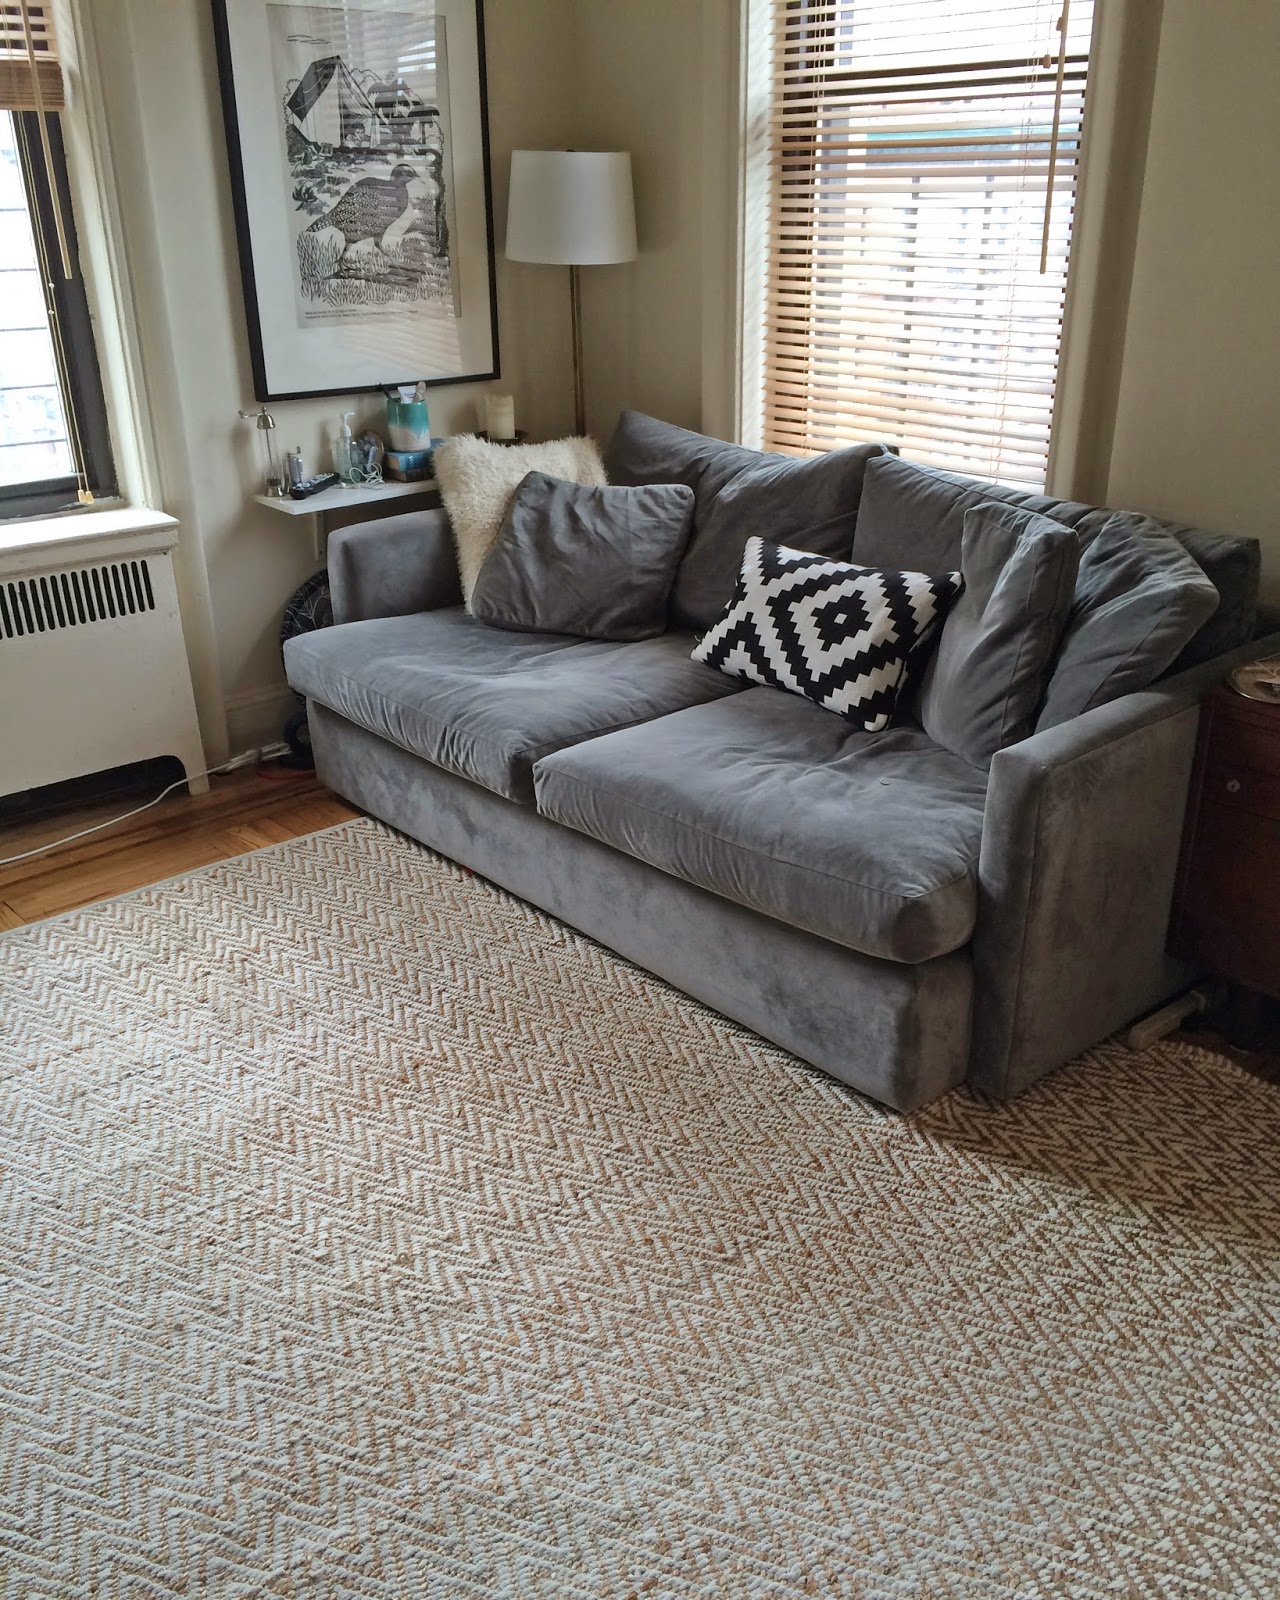
...and here is what it looks like now:
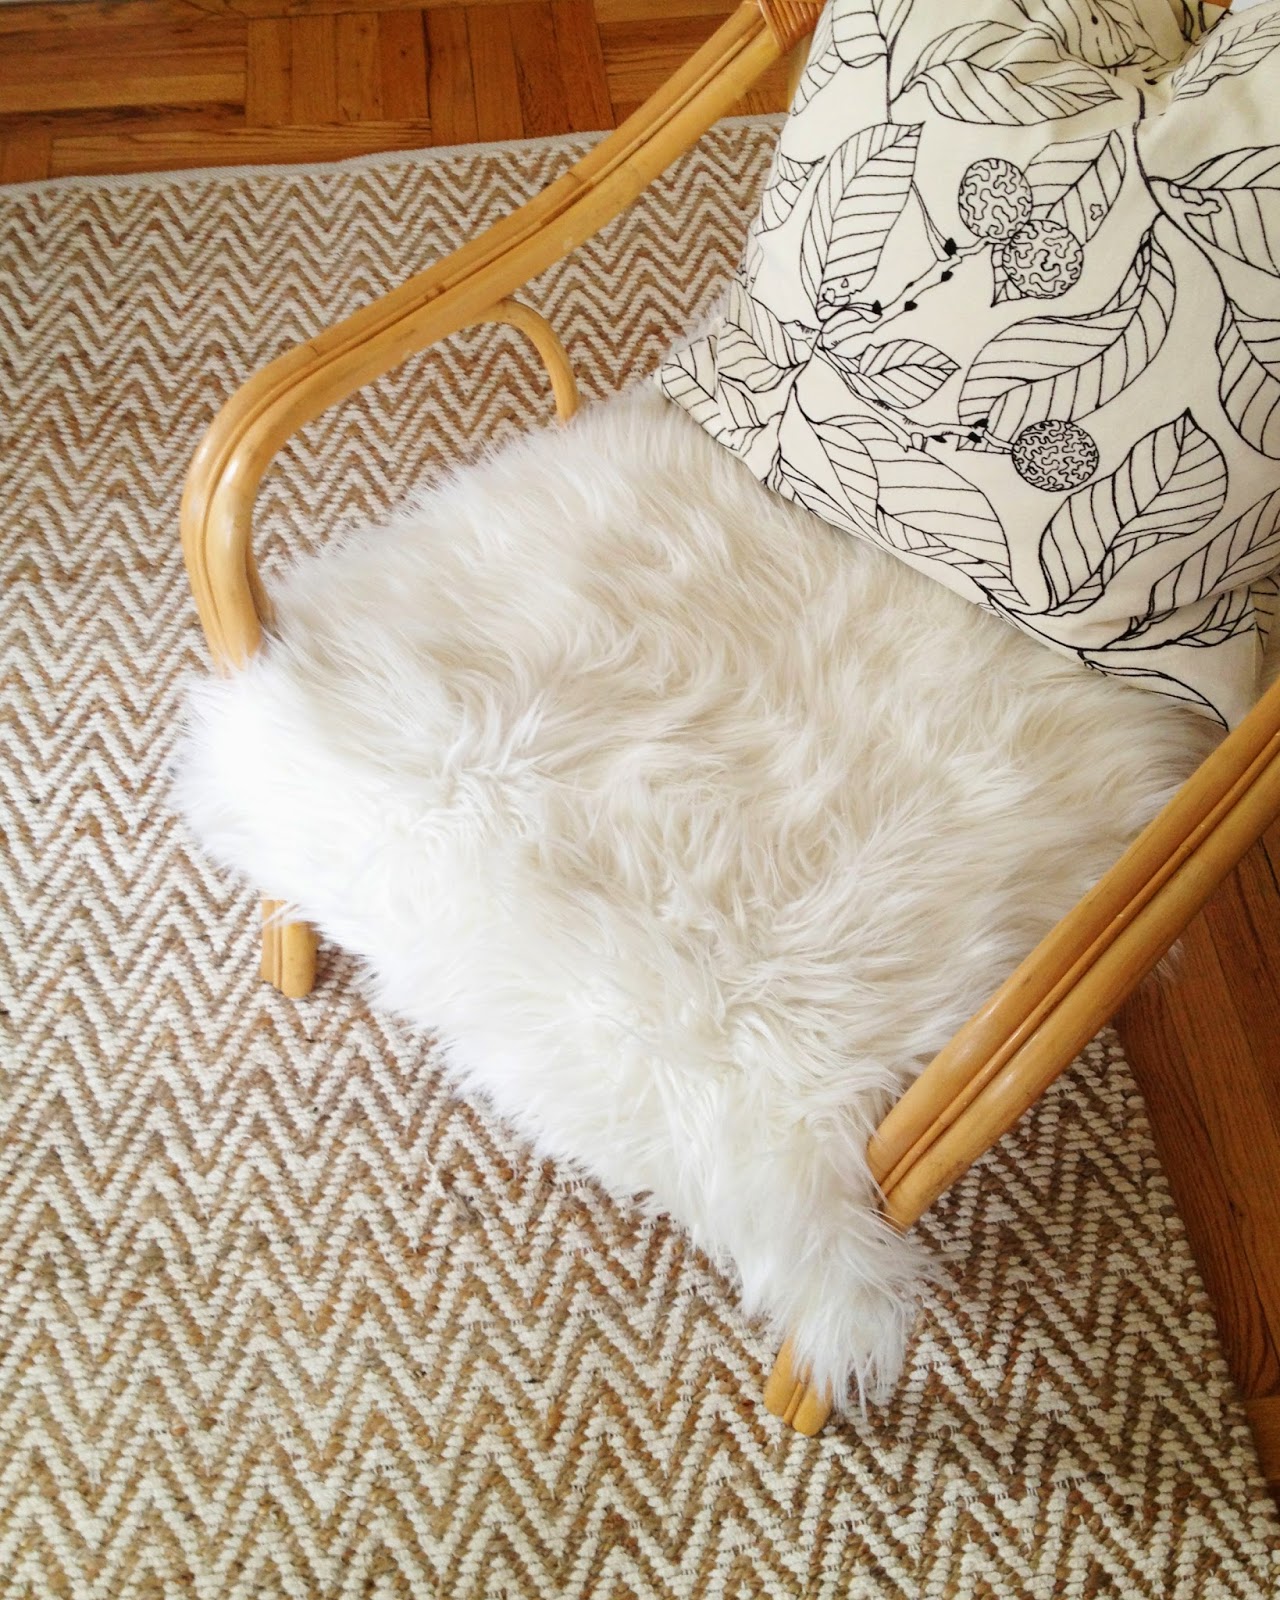
So obviously the biggest change here was the rug. When we first moved in I ordered the chenille herringbone rug from West Elm, which I was obsessed with, but it just wasn't right for a high traffic room. Clearly I should have realized this. White chenille + a baby = no bueno. But hey, I was blinded by love.
The new rug we ordered is fantastic! I agonized over what to buy and even considered some very expensive options before finding this one at...drumroll please...Home Depot! I wanted something light that wouldn't drastically change the feel of the room, and most importantly be soft for a very mobile baby. This definitely fits the bill. I'm going to share my thoughts on the West Elm rug and the new one we purchased, so stay tuned for the scoop.
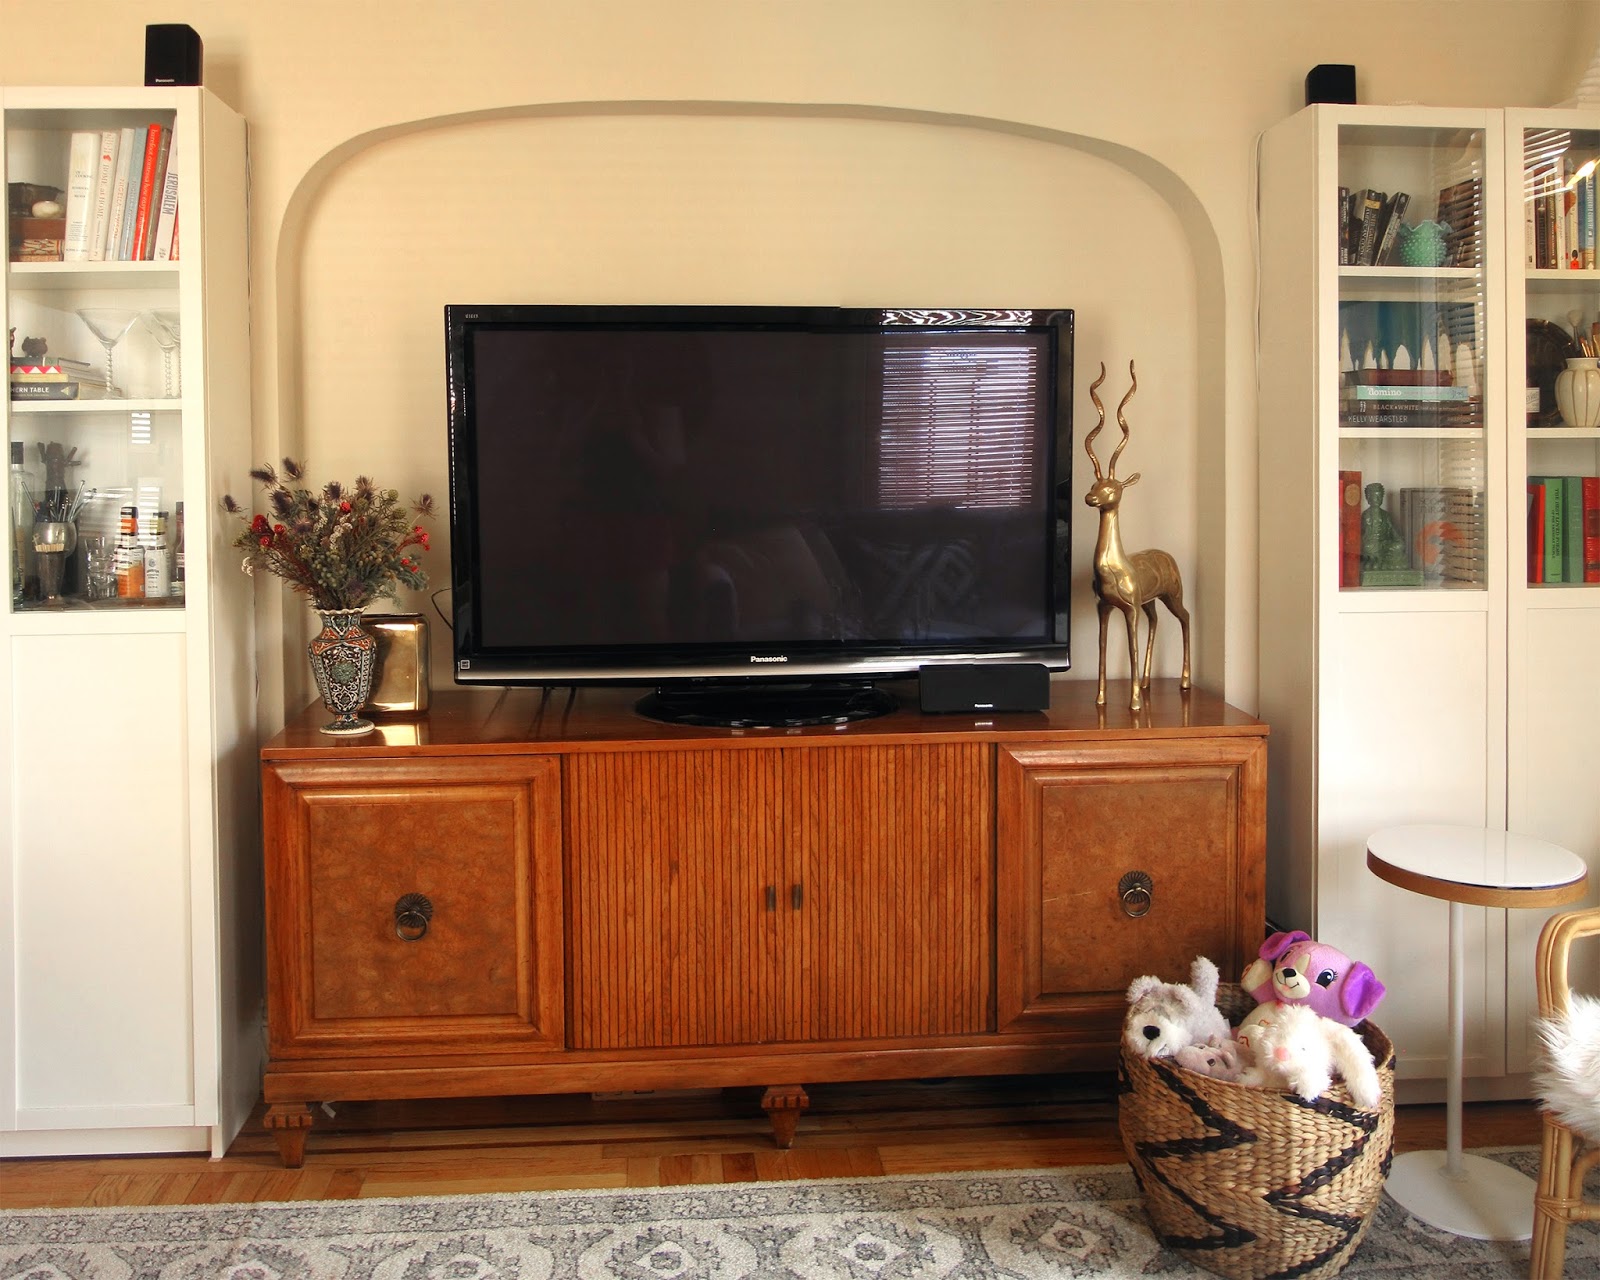
The other major change in the room was replacing an enormous Jens Risom desk with a smaller Danish modern table. We still primarily use this area as a desk, but it is now easier to switch it up for dinner, and it's expandable in case we host parties.
Oh hey there little lady!
There isn't much I'm planning to change/add in this room, but here is my to-do list:
- install sconces on gallery wall for more light
- change the pulls on the tv cabinet (I already have my sights set on these agate beauties)
- add decorative tape to the blinds to dress them up a bit
- baby-proof the wire mess under the table
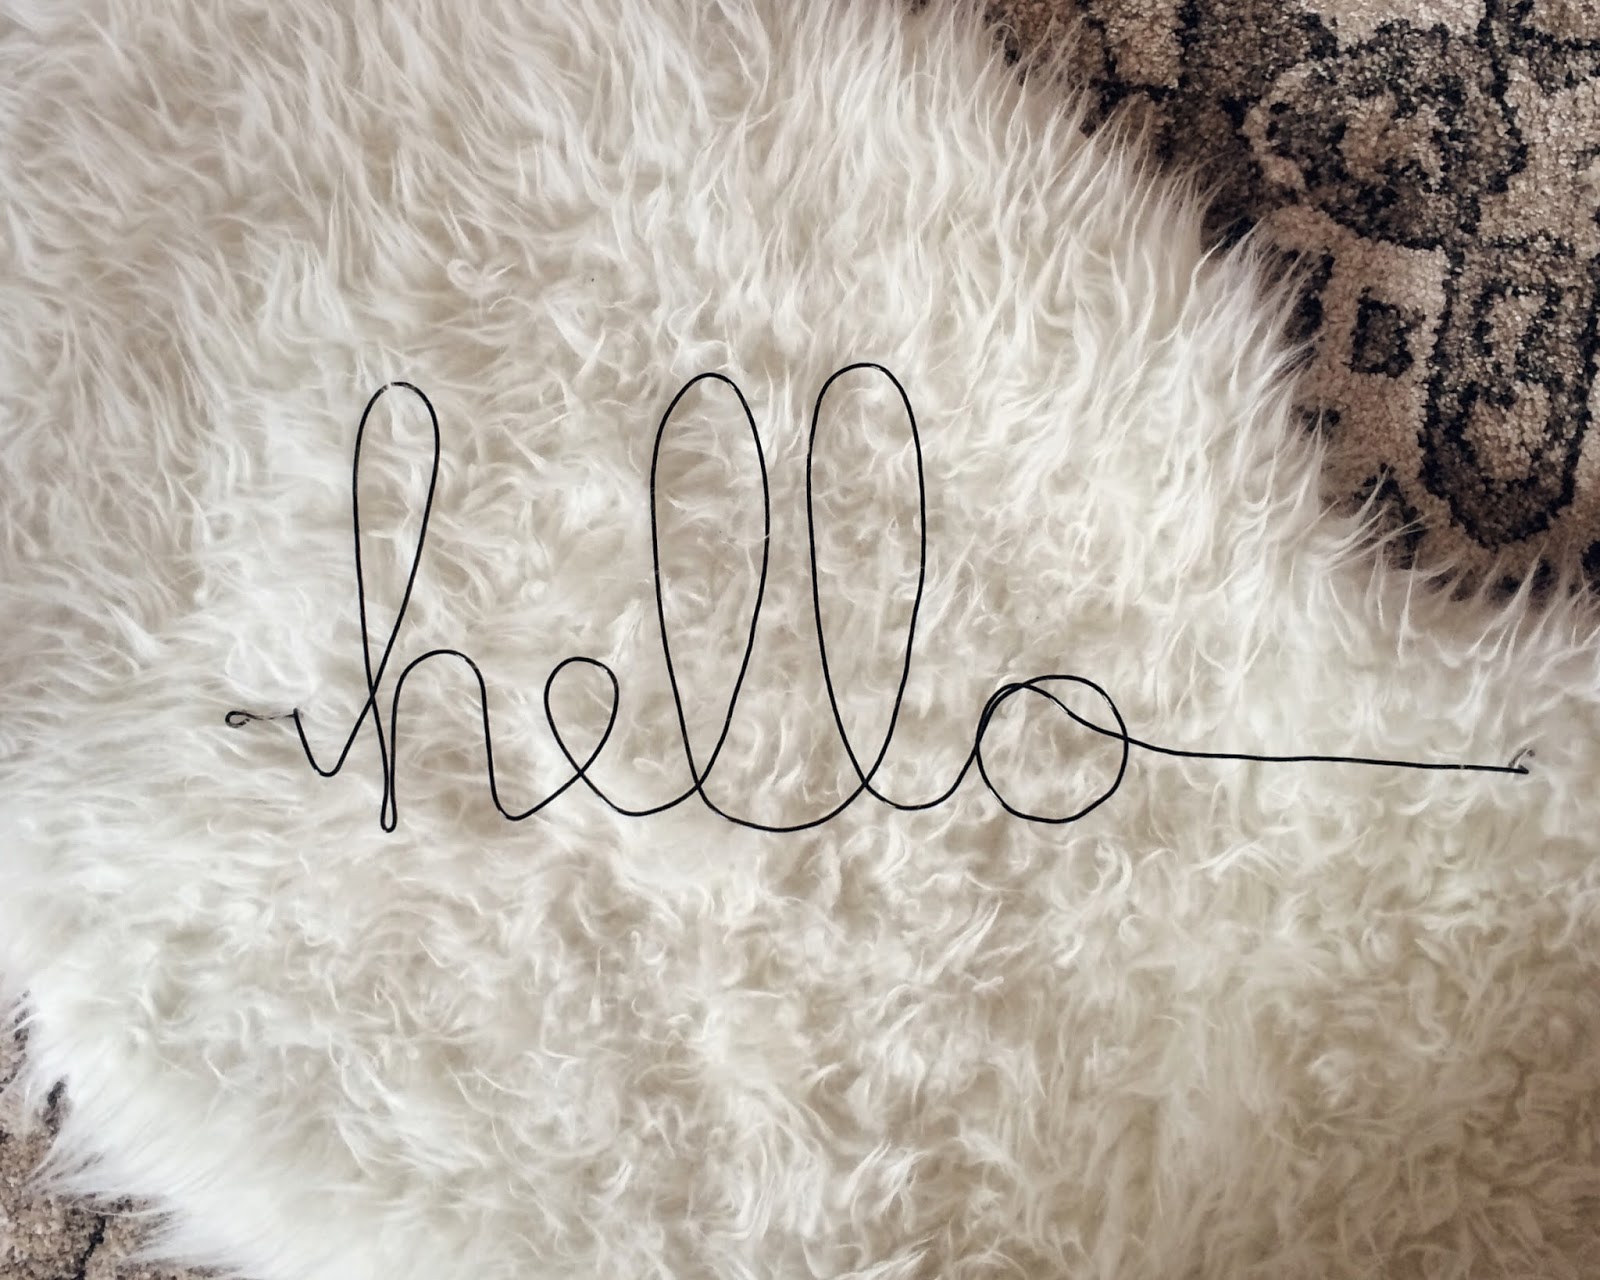
Today I'm sharing one of my favorite DIY projects to date. It is the perfect kind of DIY...fun, fast and cheap.
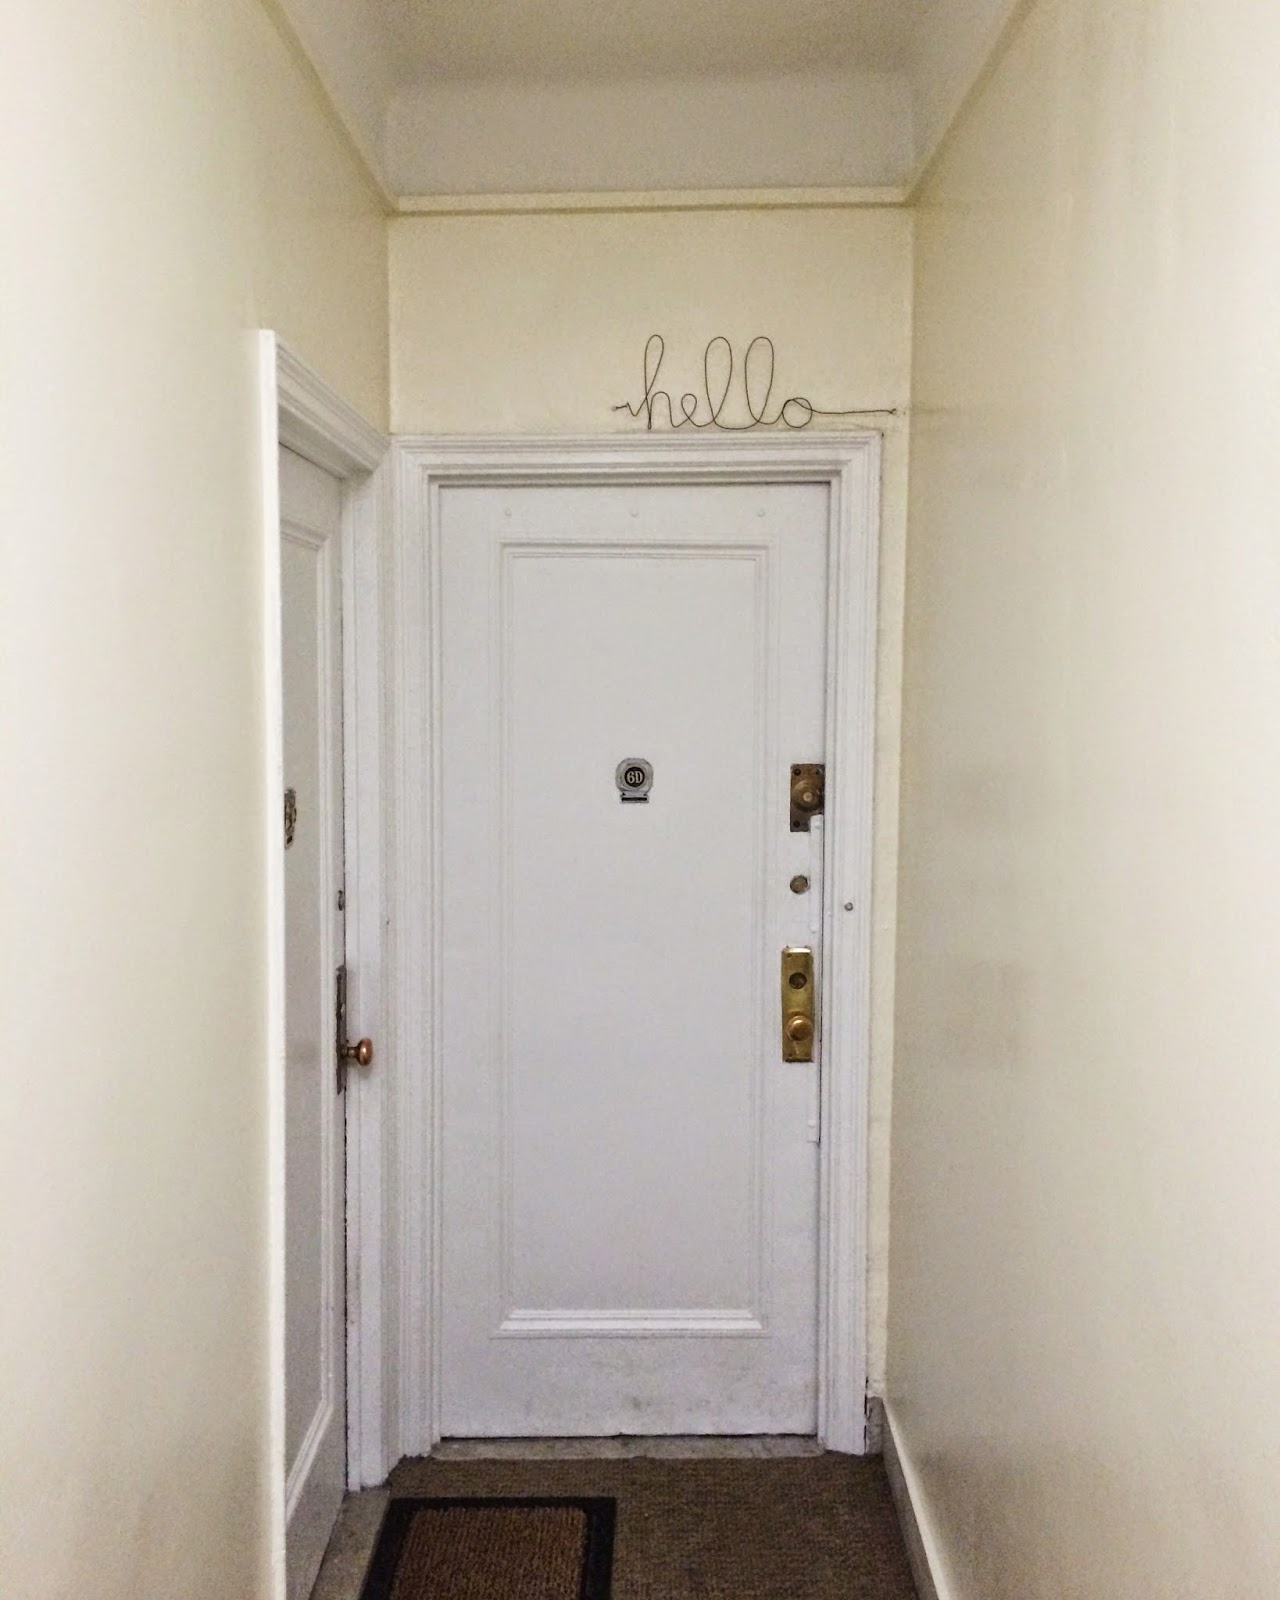
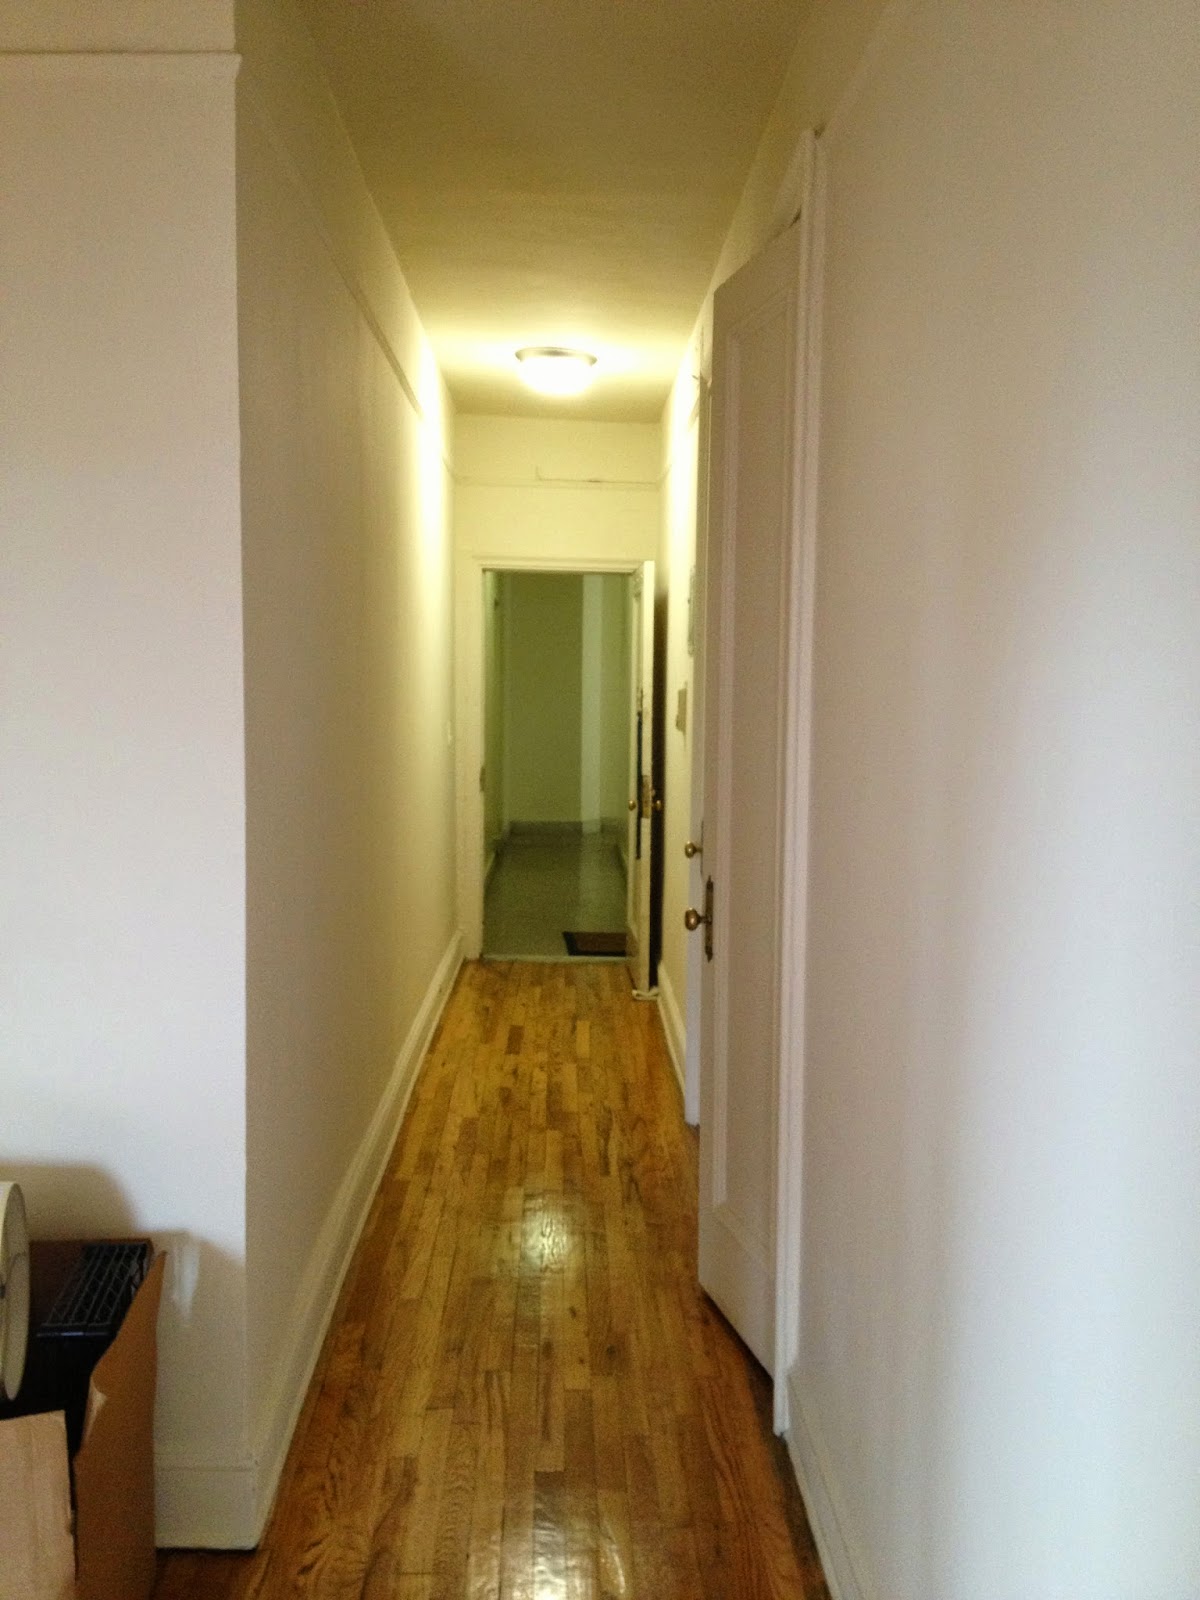
The entry to our apartment is incredibly boring. You walk down a long cream-colored hallway with brown carpet and florescent lights. Not exactly a show-stopper. I wanted something simple and fun to pep up our doorway and suggest that cool interesting people reside there and you should be friends with them.
I was inspired by these cute wire signs from Anthropologie...
Adorable, right?
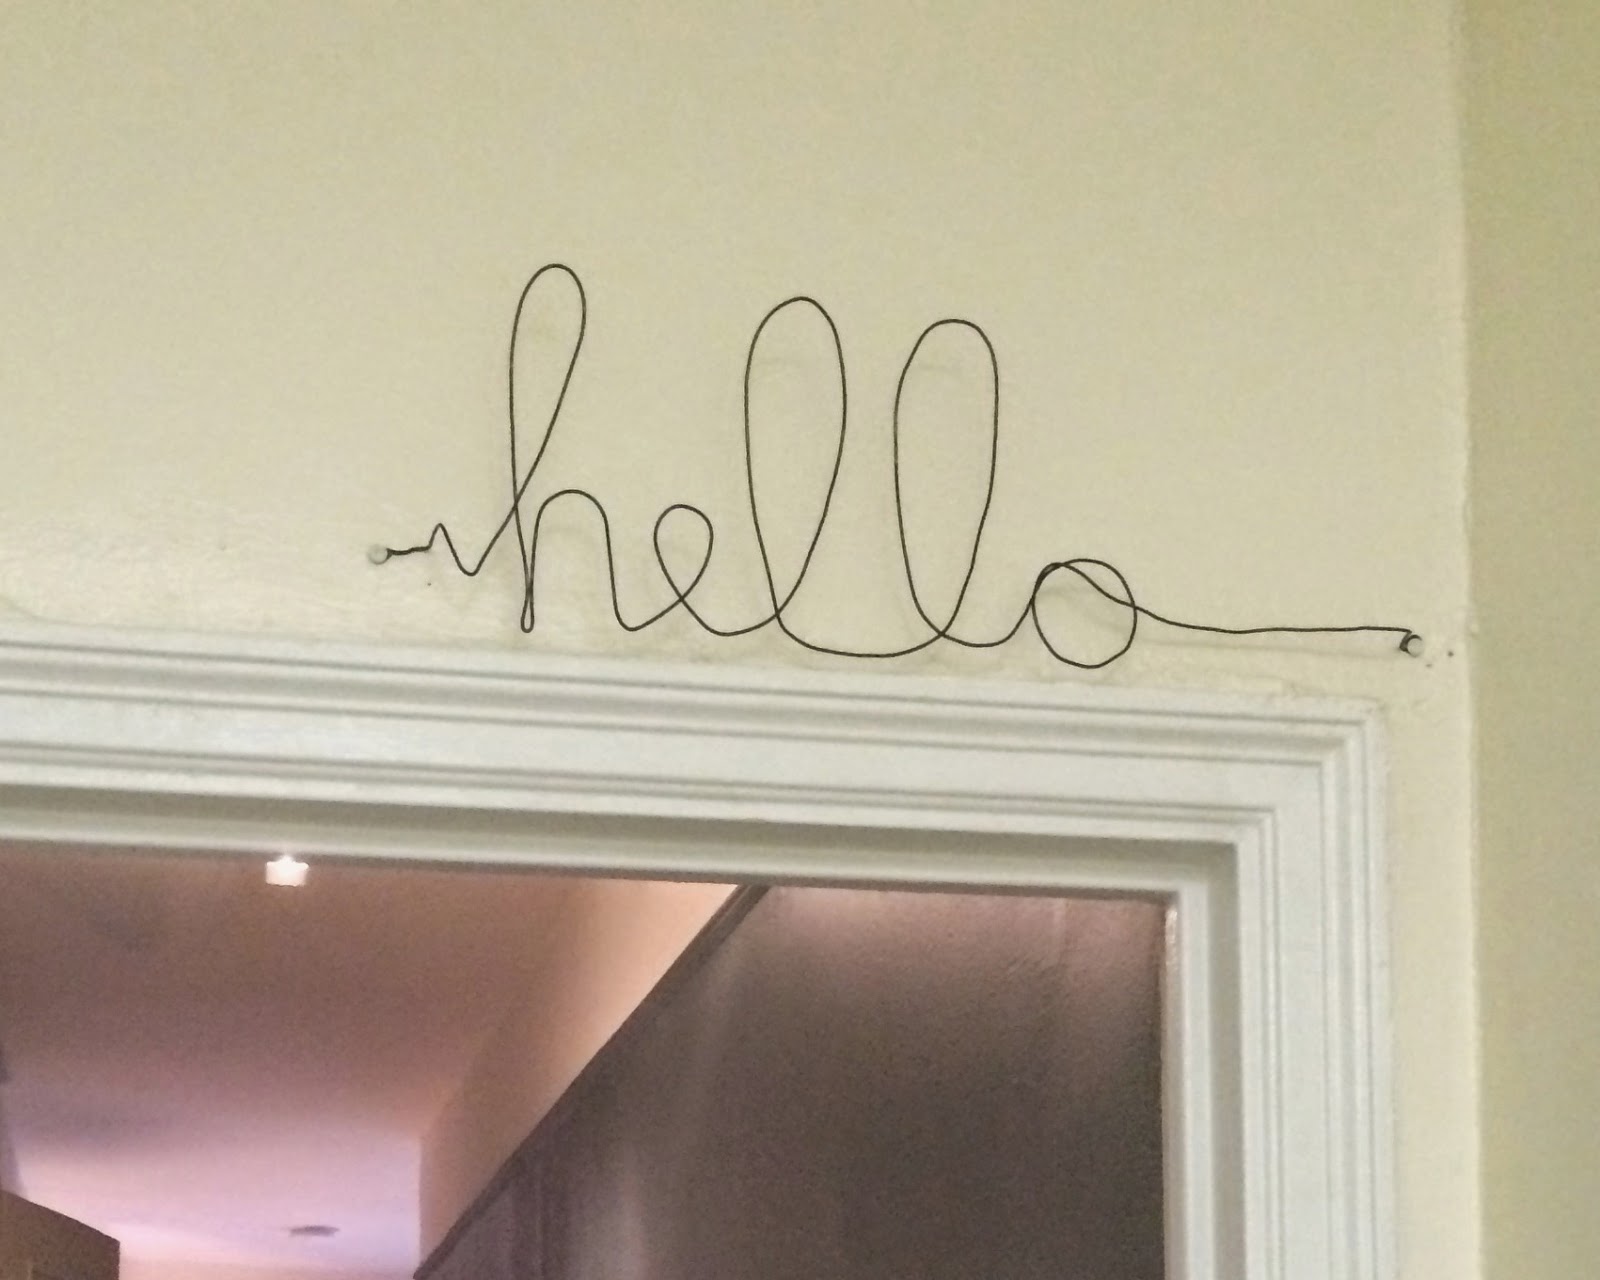
Here is how I went about making my sign. I picked up some black aluminum wire from Michael's which was very pliable and easy to work. I had originally planned on making the sign with old wire clothing hangers, but the aluminum was far easier to deal with. First, I wrote out in "hello" in script just to have a rough guide to follow. Then, I simply started bending the letters, making sure to leave a few inches at the beginning and end for an attachment loop and to allow the letters to project off the wall an inch or so.
And voila!...the piece is all done and ready to be hung up.
I ended up using push pins to hang up the piece. The wire is so lightweight that I really didn't need anything heavy-duty.
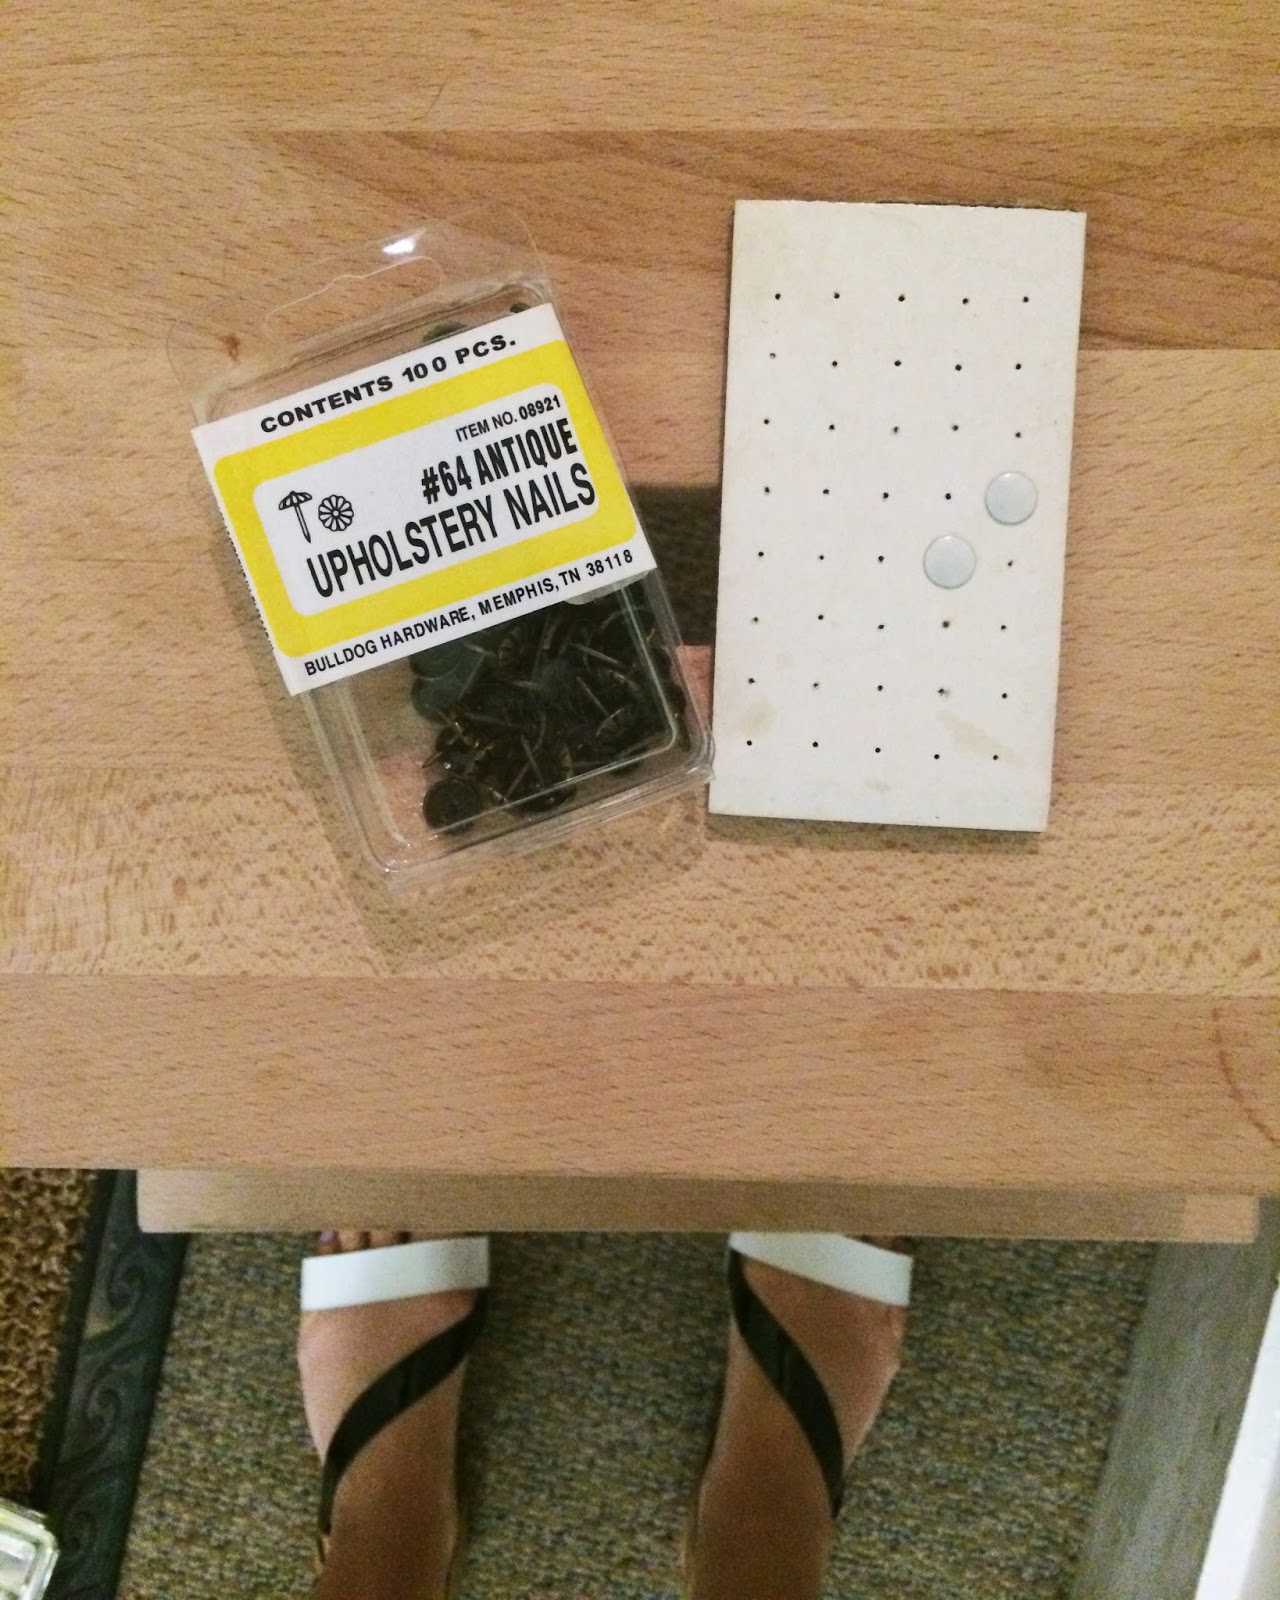
Choosing between larger upholstery nails and my last two pushpins.
I LOVE the way this it looks.
I'm currently resisting the urge to make signs for every room in my house.
I keep saying I'm back but this time I mean it! I've been sitting on tons of ideas and inspiration and it is time to share.
To
start things off I'm doing Part 1 of our NYC apartment tour. I'll be
going each of the spaces, showing befores and afters and presenting my
"to-do" lists. I'm sharing these lists mostly because I want to hold
myself accountable for actually getting it all done. My goal is to have
all my projects completed by the one year mark, so we can actually enjoy
the space in completed form.
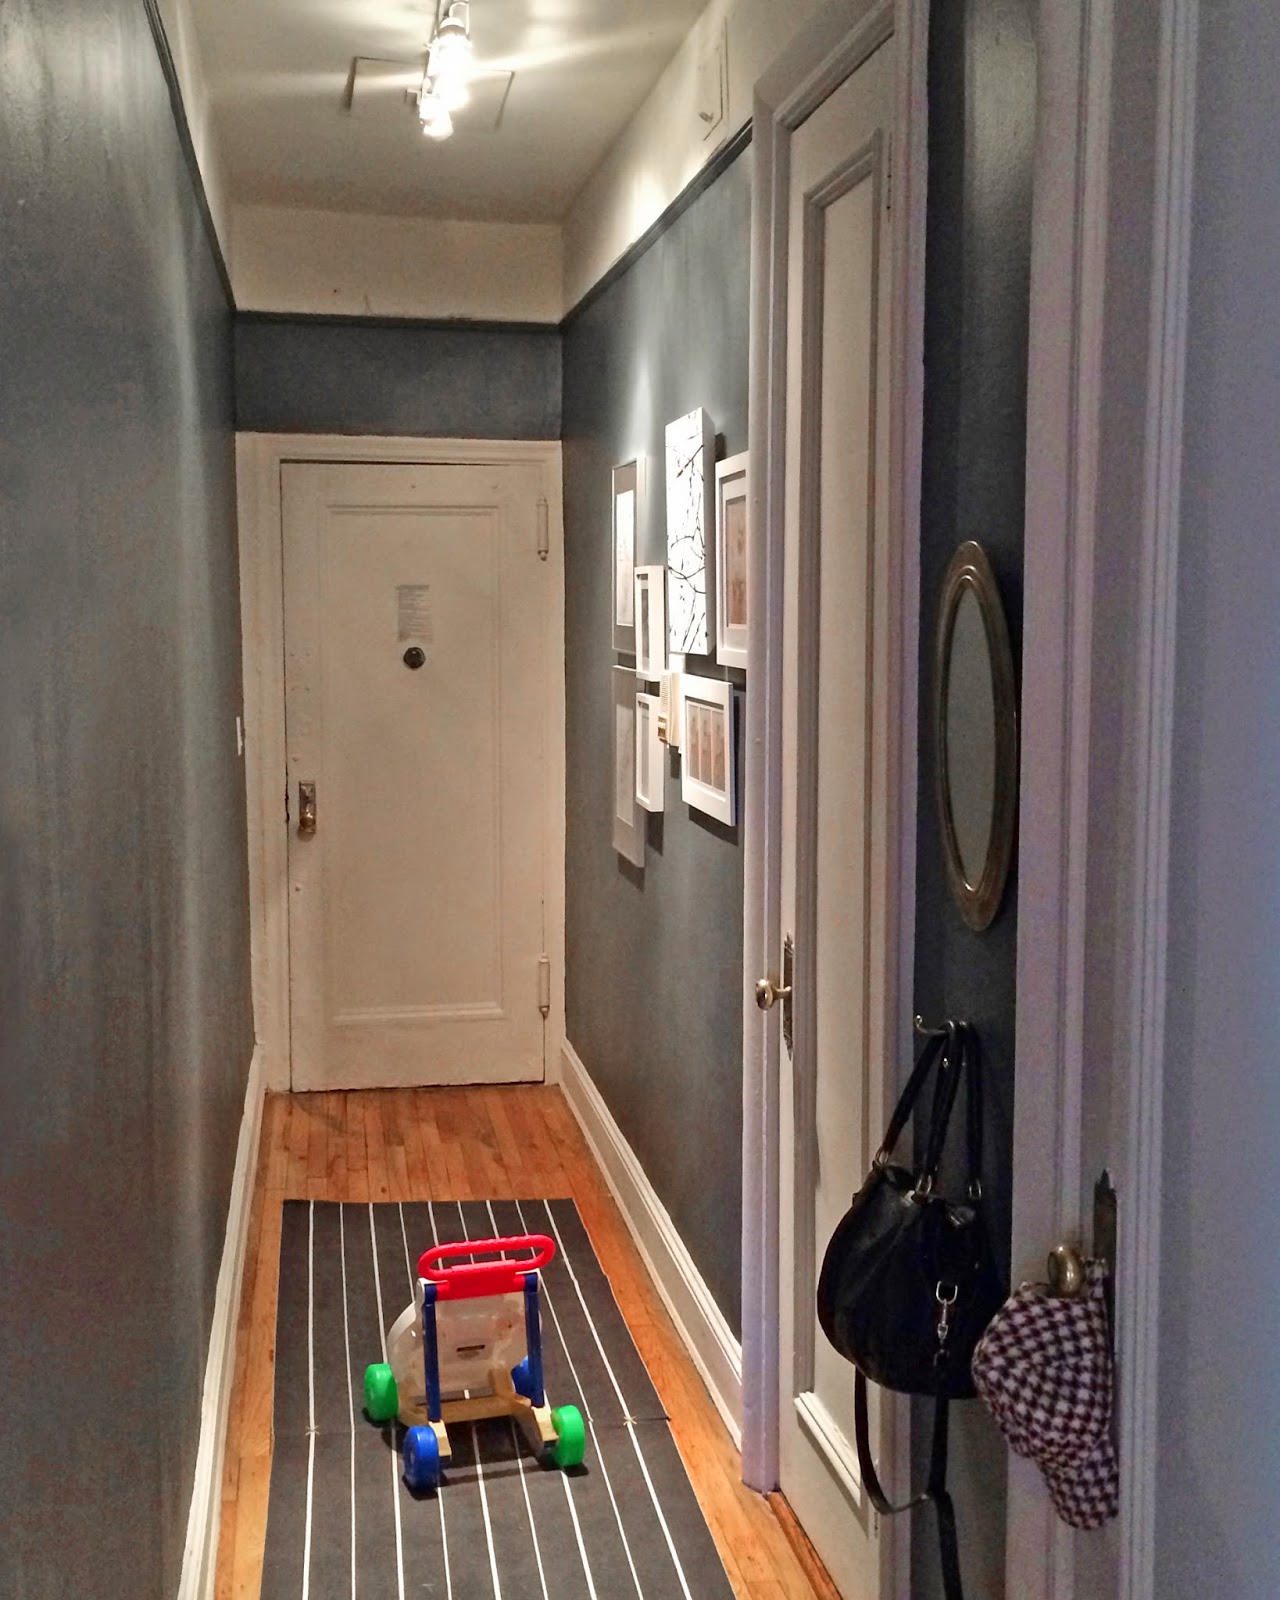
So let's start the tour...in the hallway. Here is what we started with. Very much a blank canvas.
Just
like every
other room, it was painted a matte cream color. I decided to go dark and
really change the feel of the space. I've always loved Fallow &
Ball's Hague Blue so I decided to just go for it!
Here she is in all her lagoon-y blue glory.
I
love it...very serene and chic when you open the door. Sure, it is
dark, but honestly even when the hall was white it was dark, so why not
just embrace it.
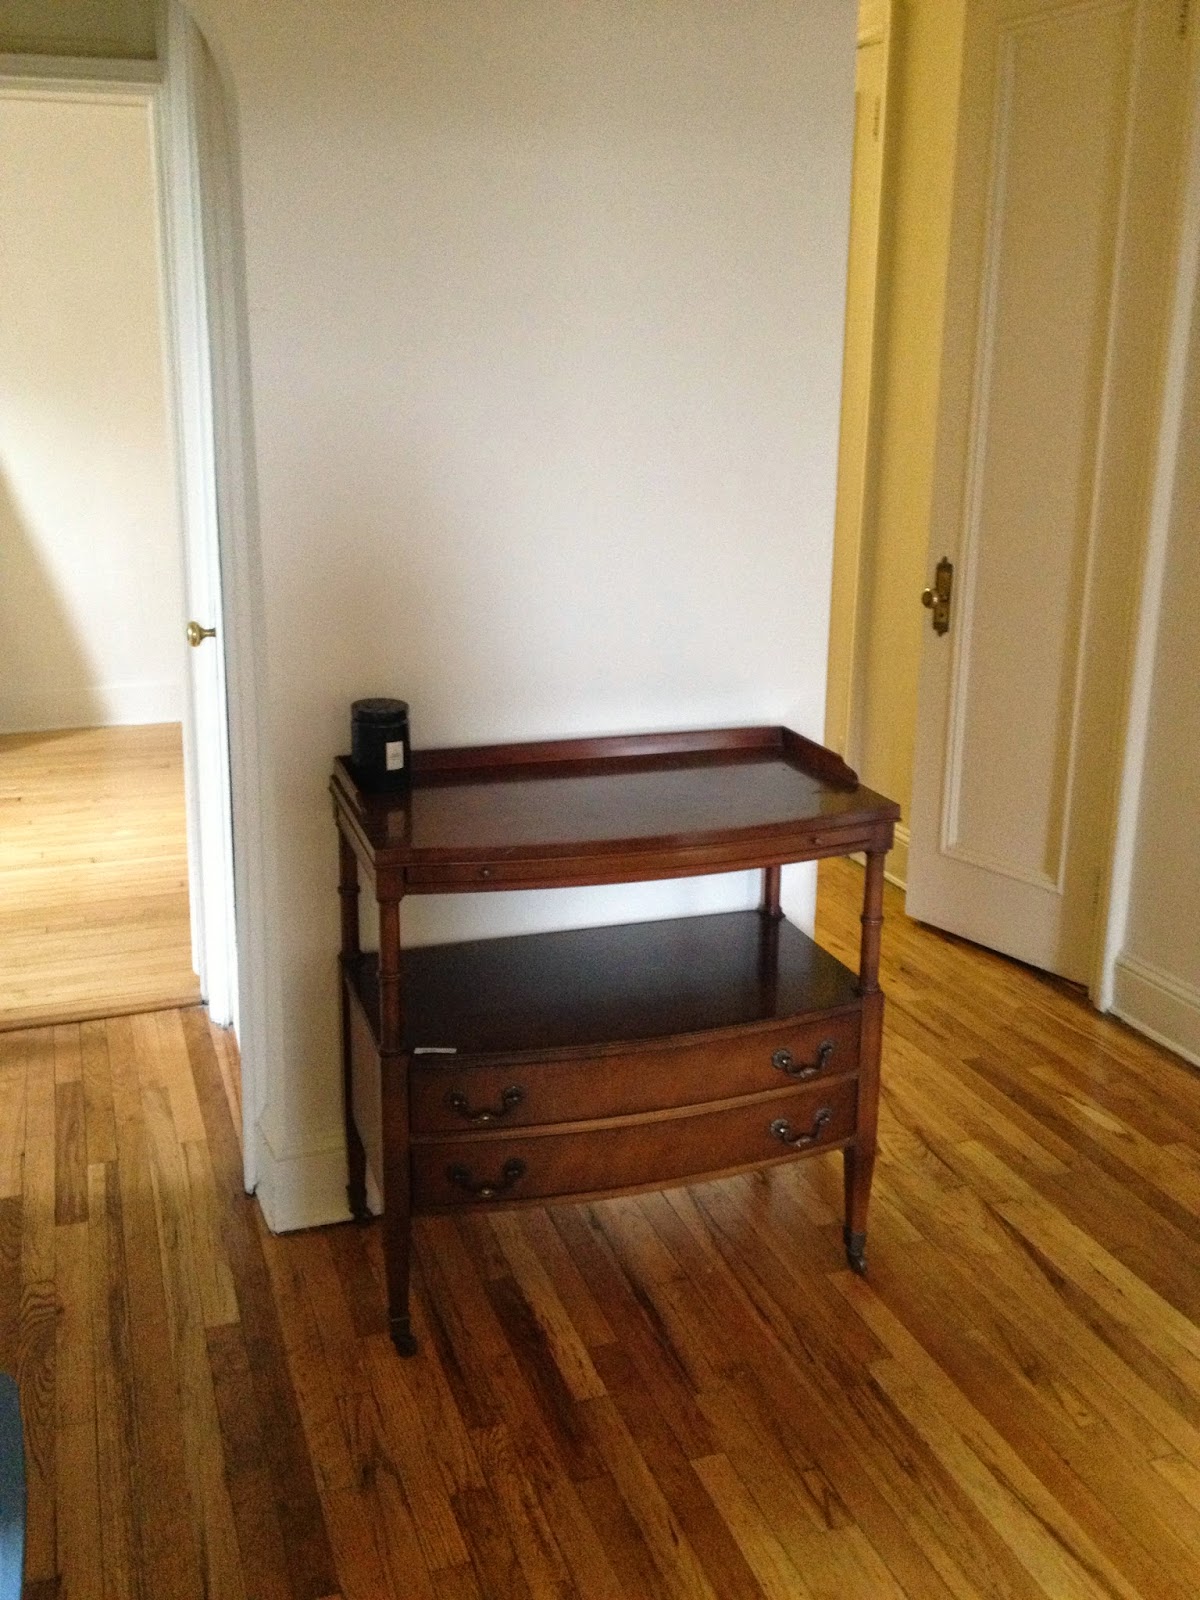
In
the foyer area I created a skirted table which hides some
ugly/functional storage and positioned our vintage bar on the main
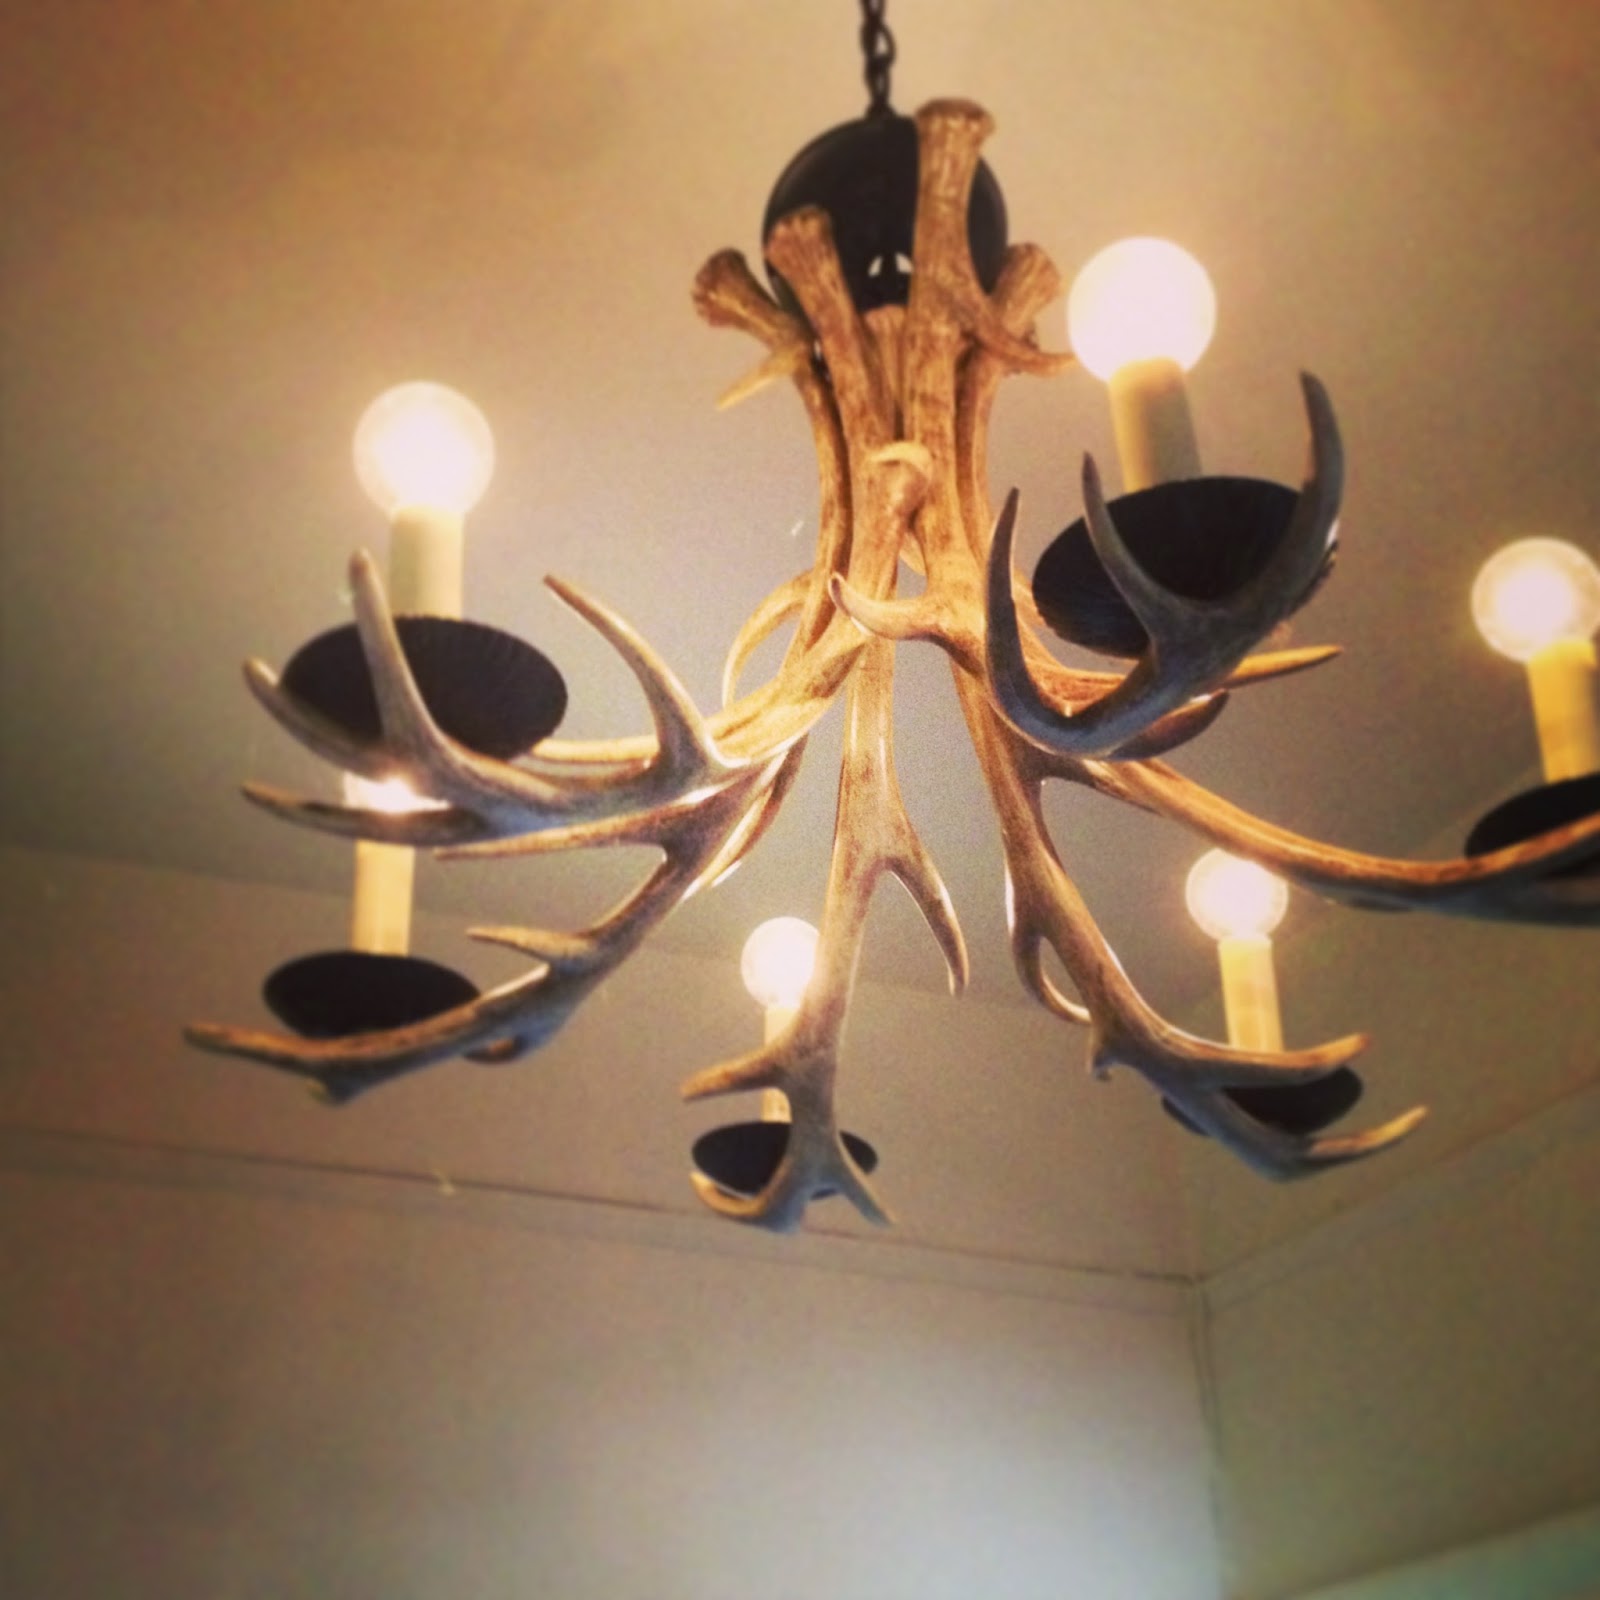
wall. My antler chandelier, which I purchased from Pottery Barn about
10 years ago, finally found a home outside of the closet. It's not
exactly what i would have picked, but I already owned it, so up it
went. Plus, it is fun to hang stuff off of the antlers. Also, for
anyone who cares, they are not real antlers, they are resin and probably
from China.
Ornaments at Christmas Time!
Seems nice and finished right? Well...the joke's on you, because I'm already planning to change everything.
The space feels waaay too traditional for my taste. I didn't intent it to happen, but it did and it needs to change.
The
skirted table, while great and useful, is just not going to work with
our little explorer on the loose. And the bar, which we loved having
front and center (what does that say about us?) is also a danger zone (Lana...Lana....LANA....daanga zone).
The
bar contents have already been moved into the bookcases in the living
room, and I'm in the process of finding some baskets that can hold the
contents of the skirted table. I'm going to move the mirror above the
bar and possibly paint it white. I'd really like a large, modern round
mirror for that space, but that also costs money. The gallery wall is
going to extend down the hall and I will probably just fill it up with
pictures of Mads, psycho-mom style.
The
antler chandy will be yarn-bombed. You heard me! I already bought the
yarn and am just working up the courage to take this one on. It is
going to be intense.
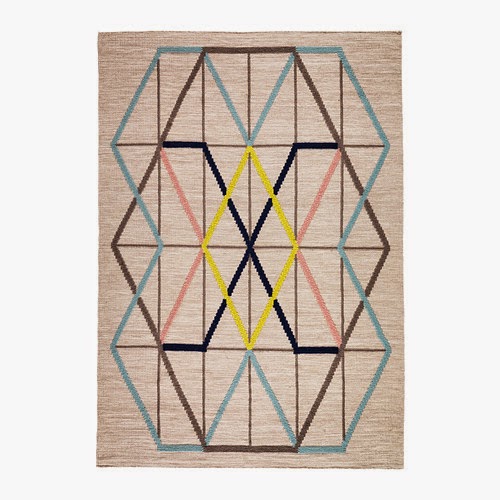
I
would also like to get a new rug. This is not a must because I think
with some updates to the space the current kilim will not feel so
traditional. I would love this one instead though...
- Get baskets for bar - Remove skirted table - Move (and paint?) mirror - Extend gallery wall - Yarn-bomb those antlers! - Stencil wall - Make a frame for the paintings (there was a great tutorial for doing this on Hommemaker) - New rug?